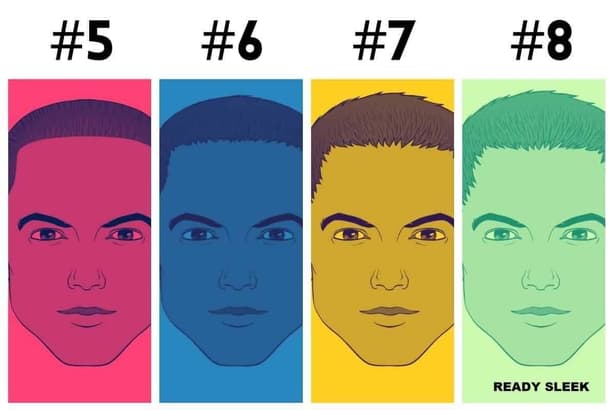
A #5 buzz cut is about 16 mm, #6 about 19 mm, #7 about 22 mm and #8 about 25 mm. Those are common inch-based guard sizes—not millimeter settings. Choose the length and the shape separately: “#6 all over” is a different haircut from “#6 on top with shorter sides.”
If you are unsure, start with the longest of these lengths that you would be comfortable keeping, provided your hair is long enough. You can shorten it after checking the result; a larger guard cannot add length to hair that is already shorter.
Buzz Cut Lengths #5–#8 at a Glance
| Guard | Nominal length | When to consider it | Check before going shorter |
|---|---|---|---|
| #5 | ⅝ inch · about 16 mm | You want the shortest option in this group and do not need a specific styled front. | Will you still like the crown and hairline with less length? |
| #6 | ¾ inch · about 19 mm | You want a middle step between #5 and the longer #7–#8 options. | Is the extra bulk on top, or only at the sides? |
| #7 | ⅞ inch · about 22 mm | You want to shorten a #8 result by one nominal guard step. | Does the front still move the way you want when dry? |
| #8 | 1 inch · about 25 mm | You want to retain the most length in this group before deciding whether to shorten further. | Would shaping the sides solve the problem without shortening the top? |
Length references: Wahl’s guide-comb chart gives the inch sizes; Wahl’s guard guide also gives the rounded millimeter equivalents. Check the label and instructions for your actual clipper and compatible guard. A guard number alone is not a universal specification for every cutting system.
The steps are smaller than they sound. Each step here is ⅛ inch, or about 3.2 mm. The nominal difference between #8 and #5 is ⅜ inch, or about 9.5 mm. Rounded labels such as 16 and 25 mm are not precision measurements of a finished haircut.
What Should You Ask Your Barber For?
Give the guard or approximate length, say where it applies, and agree on the sides before cutting. For example:
“I’d like roughly 19 mm on top—the common #6 length. Please check what that means on your clipper. Keep the sides longer at first so we can agree on the blend; I don’t want a skin fade. Let’s check the dry crown and front before taking the top shorter.”
For an even cut, replace that with: “The same approximate length over the whole head, with no shorter side fade.” These are examples to adapt, not a universal recipe. Bring a photo for the outline and explain what you like about it; don’t use the photo as proof of its guard number.
A crew cut, high and tight or undercut describes the arrangement of lengths, not one fixed guard. Agree on how much top length to keep and where the transition starts. A skin fade is a separate choice, not a requirement for #5–#8.
What Changes Between #5, #6, #7 and #8?
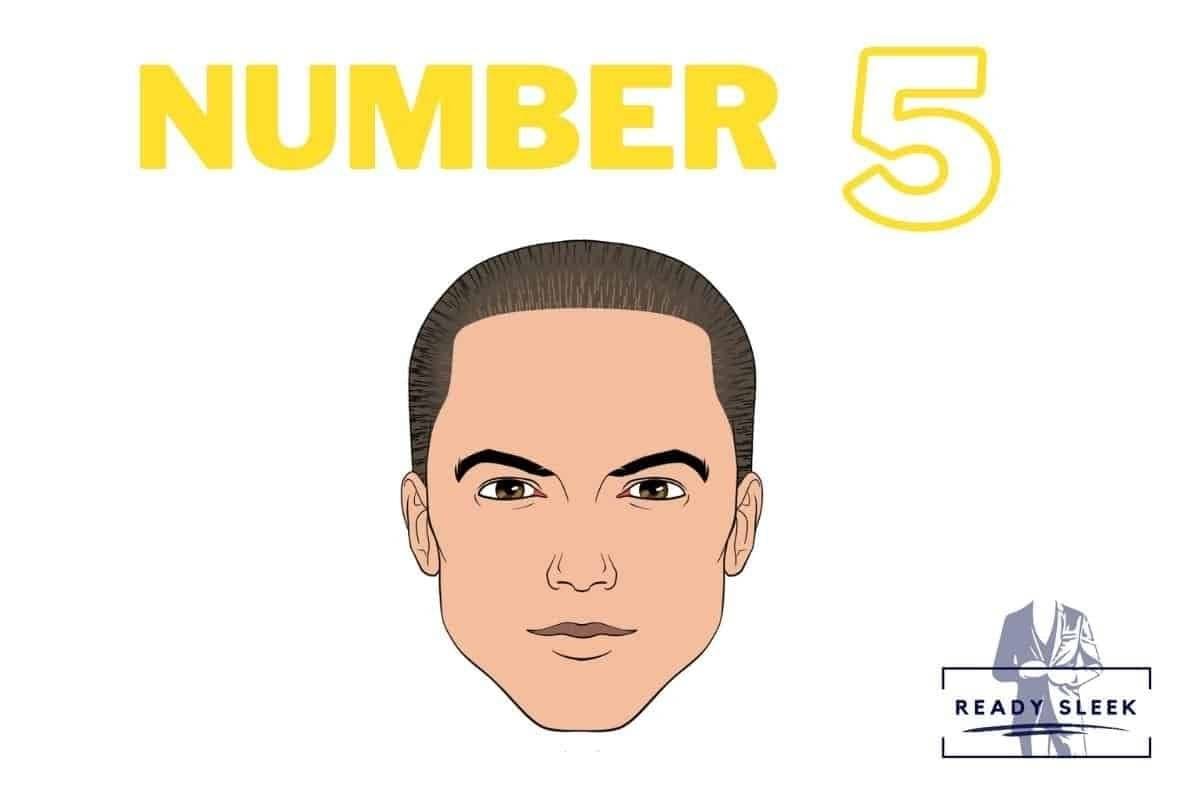
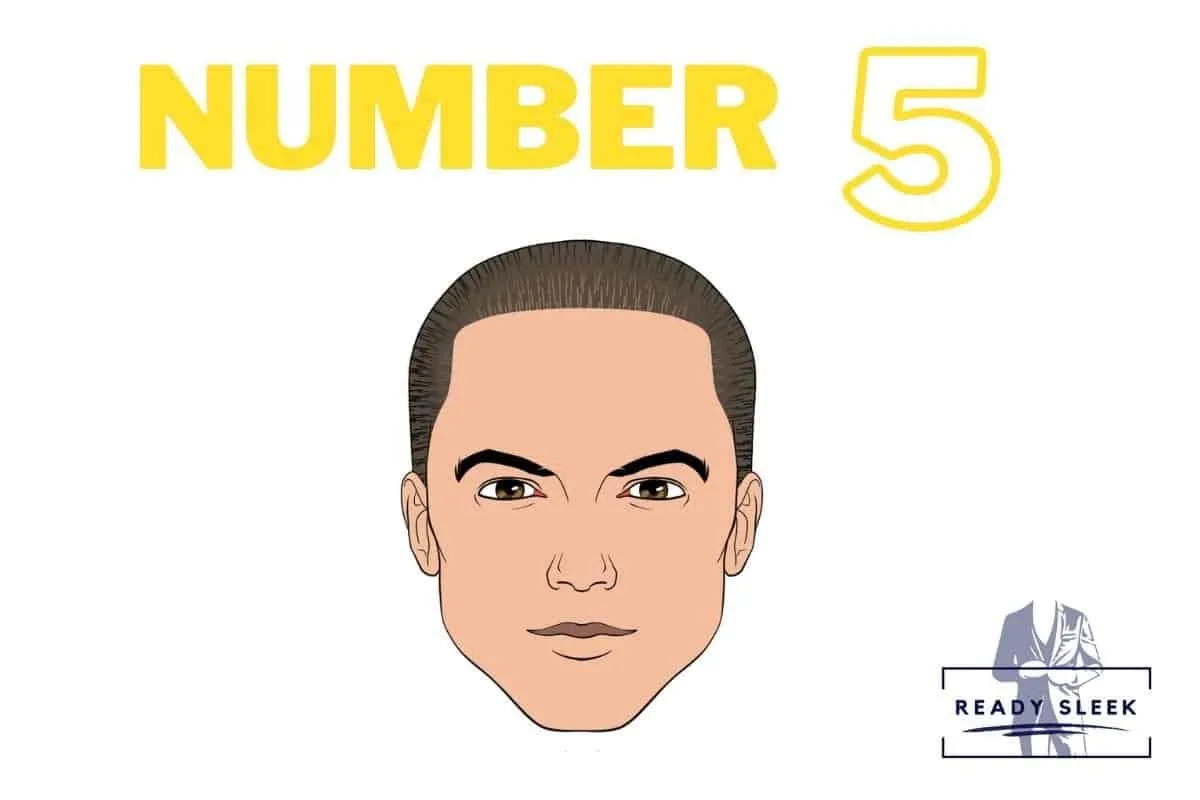
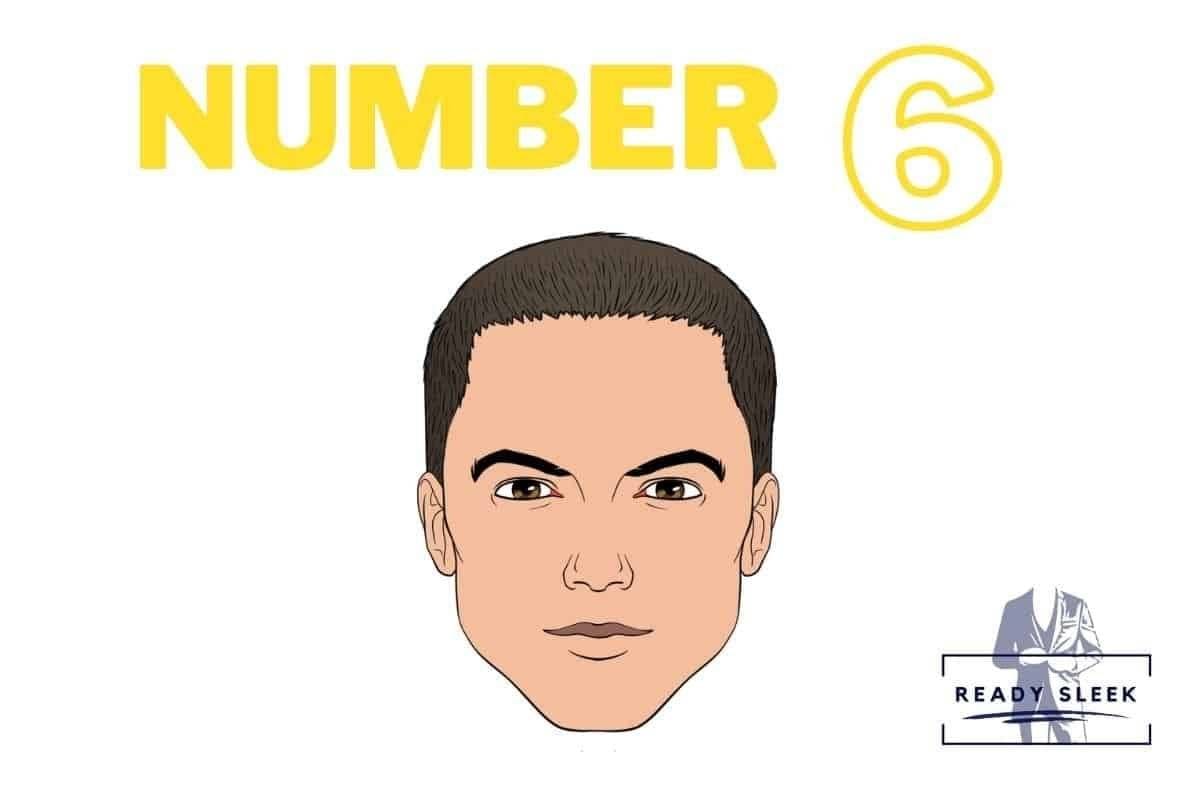
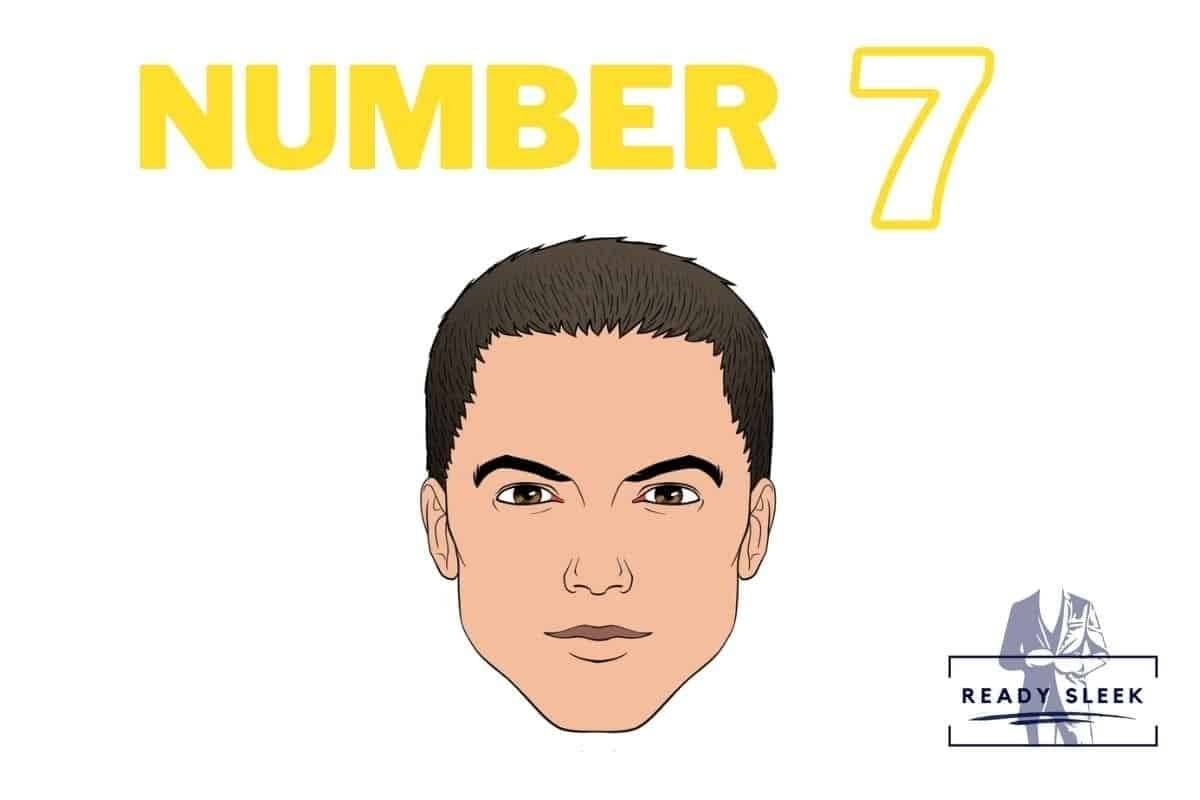
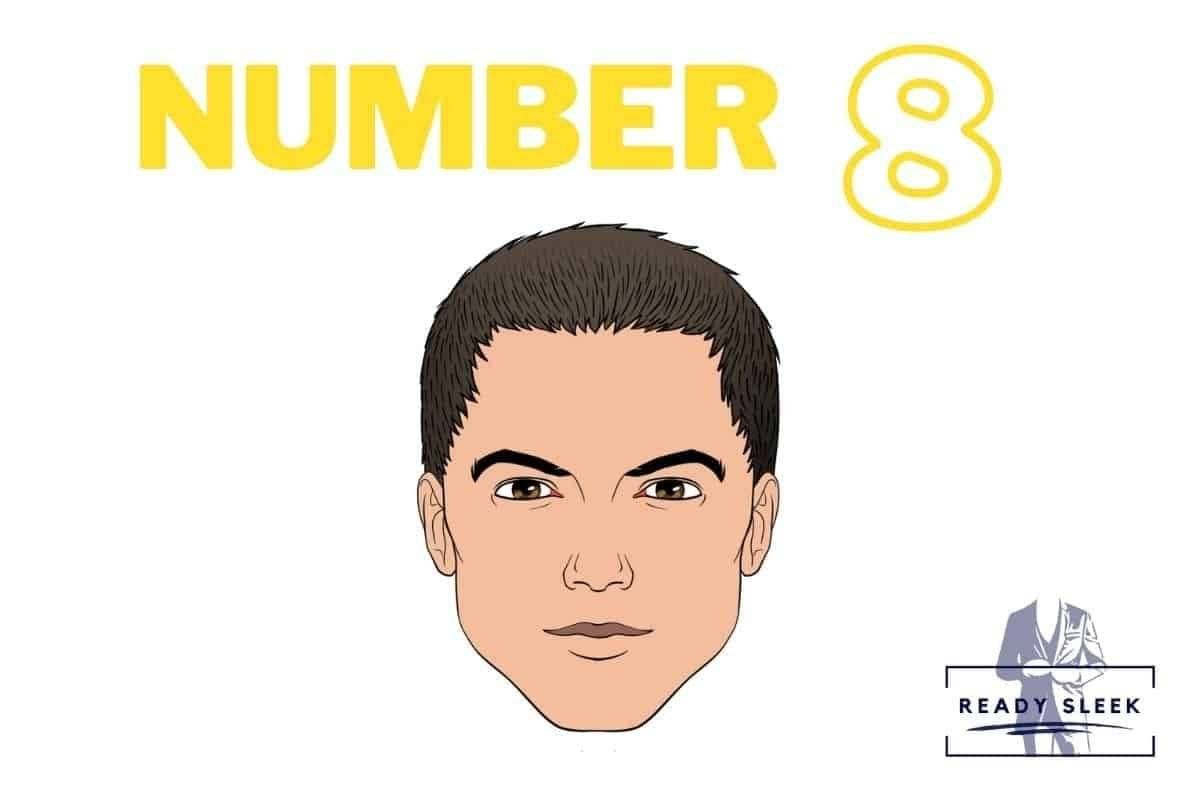
How to read the pictures: the stock photos below illustrate shapes, not verified guard lengths. We do not have documented cutting settings for the pictured people. The four numbered drawings are stylized illustrations, not to scale or predictions of density. The header artwork is also an illustration, not a measured haircut comparison.
Number 5: About 16 mm
#5 leaves the least length in this comparison. Consider it if you want a relatively short cut without going as short as our #2 or #3 guides. Don’t choose it on a promise that it will hide the scalp or hold a quiff: the finished appearance still depends on your hair.
Your check: look at the crown as well as the front before shortening further. If you want a specific styled front, ask the barber to preserve enough length there instead of applying #5 everywhere.


Number 6: About 19 mm
#6 is one nominal step longer than #5 and one shorter than #7. It is a useful middle option, not a guaranteed threshold for a faux hawk or quiff. Your front might lift, lie flat or follow a growth direction that needs a different shape.
Your check: if the haircut feels too wide but you like the top, discuss reducing the sides first. Shortening the entire head changes two things at once and makes it harder to identify what you actually preferred.




Number 7: About 22 mm
#7 lets you take one nominal step down from #8 while keeping more length than #5 or #6. Whether that extra length helps styling is something to check on your own hair, not infer from a different person’s photograph.
Your check: assess the front when it is dry and without styling product first. If you like that finish, you do not need to add pomade simply because you chose a longer guard. If you want texture or hold, try a small amount of a product you already have before buying something new.




Number 8: About 25 mm
#8 retains the most length of these four options. It can be a starting point when you are hesitant about going shorter, but it does not guarantee enough front length for a side-swept quiff or comb-over style. Show your intended finish before committing to one length all over.
Your check: decide whether the sides actually bother you. An all-over #8 is an option, not a mistake that must be corrected with a fade. If you prefer less side volume, agree on that change while preserving the top. Face shape alone does not dictate the answer.



Choose by Your Hair and Routine, Not Just the Number
- Texture and growth direction: check whether your own dry front lies down, bends or stands up. Ask the barber to check a curl pattern or crown swirl before taking more off. The guard label does not describe the finished silhouette.
- Density and scalp visibility: compare your front, temples and crown in the same lighting. Do not assume more length always conceals more scalp, or that shorter always looks fuller; a haircut does not treat hair loss. For hair-loss concerns, see the American Academy of Dermatology’s guidance on diagnosis and treatment and discuss the cause with a dermatologist.
- Upkeep: separate styling the top from maintaining the edges. A faded side can need attention before you want to shorten the top. Record when each part stops looking the way you want instead of treating one weekly schedule as right for everyone.
If you are comparing facial-hair combinations, our guides cover stubble, a goatee and a mustache. These are separate styling choices; none is required to make a longer buzz cut work.
Keep a Cut Record You Can Use Next Time
Instead of saving only “#6,” copy these five lines into your phone. This is a blank record to use for your own haircut, not a test we have already performed.
- Date and equipment: clipper model, compatible guard’s printed number and length, and lever setting if used.
- Top: setting used at the front and crown; note any longer or scissor-shaped area.
- Sides and back: settings, transition height, and whether you chose a taper, fade or the same length throughout.
- Reference: dry front, side and crown photos in consistent light, with a note of any product. Keep them private unless you choose to share them.
- Next decision: what you liked after washing, what first needed attention, and the one change you want next time.
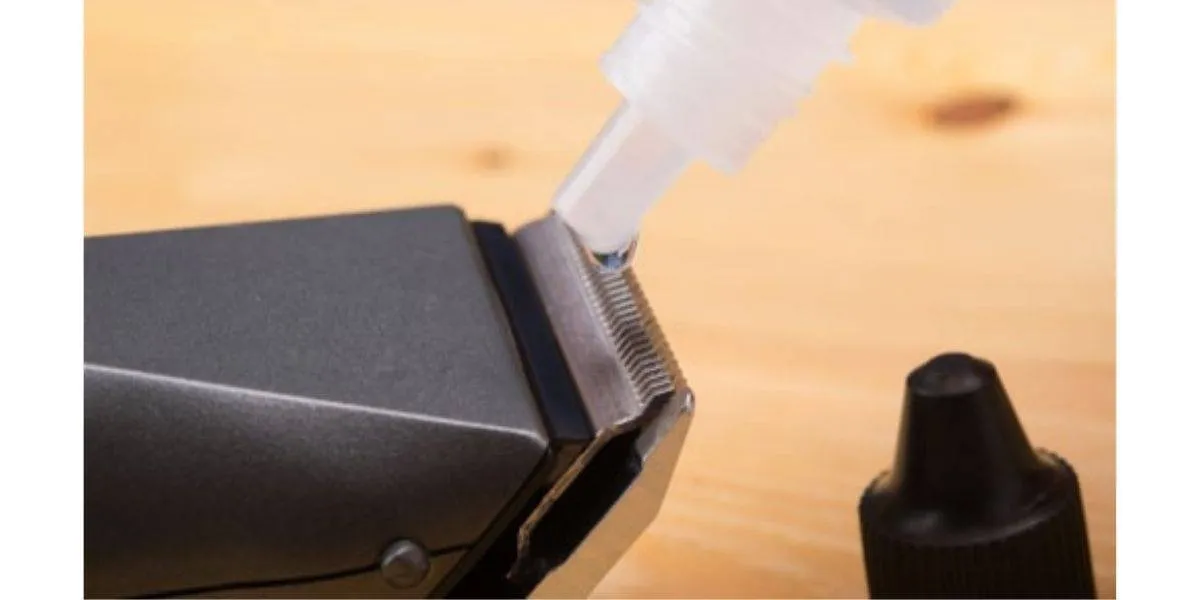
At home, follow your clipper’s instructions for fitting the guard, lever use and cutting direction. Do not assume opening or closing the lever adds or subtracts a universal number of millimeters. Check the guard is secure before starting; use the saved settings to compare like with like.
If you are comparing equipment, you can check the existing Wahl Elite Pro listing on Amazon. This is an affiliate shopping link, not a clipper we tested for this guide. Regional redirects can lead to a different bundle. Verify the exact model, regional specification, guard compatibility and included #5–#8 sizes before buying; this article does not verify the current seller’s kit contents or price.
The Practical Starting Point
Choose #5–#6 if you want to explore the shorter end of this group; start with #7–#8 if retaining length matters more. Then assess the top and sides separately. If you actually want a much closer finish, compare a no-guard cut with a shaved head before changing direction.
Use the length table and cut record above to choose your next step. The older linked style guides are further reading, not a fresh factual review of every page. The repeatable result comes from recording your actual cut—not trying to copy a guard number inferred from a photo.

Axel Lander is the founder and editor of ReadySleek. He publishes practical guides on men’s style, grooming, and fragrance, with a focus on clear comparisons, value, and the trade-offs readers should know before deciding.