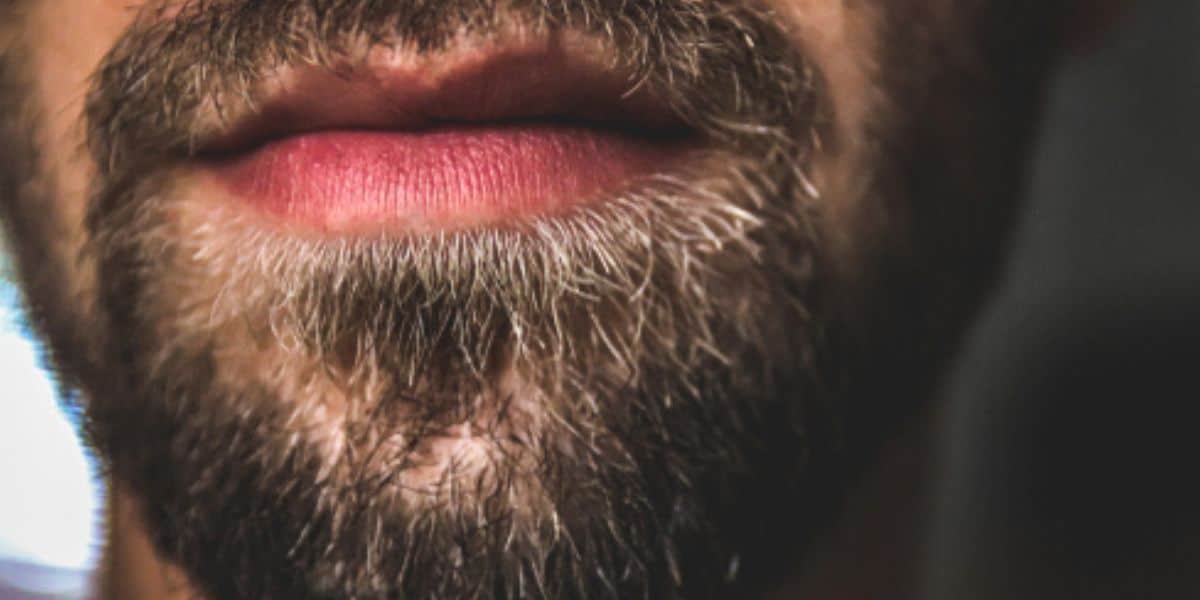
Throwbacks to previous eras are commonplace in facial hair grooming. Retro mustaches, soul patches, etc. But there are few throwbacks that throw back as far as the Viking era. You’re about to learn how to braid a goatee like a Nordic stallion.
This article contains affiliate links. If you purchase through our links, we may earn a small commission at no extra cost to you. This helps support Ready Sleek.
Although the site of a braided goatee usually has a man stroking his chin fur with bewildered curiosity. Believe me, it looks harder than it actually is.
The process is simple, yet the results are often astounding. Once you get to grips with the technique you’ll want to do it every day.
There are few practices as intensely masculine as this. But what makes it unique is that it has somewhat of a spiritual, ancient edge to it. From the comfort of your bathroom, you’ll feel the energy of Odin rush through you as you twirl your facial fur into something special.
Anyway – enough chatter. Let’s jump right into the tutorial.
How To Braid A Goatee In 6 Steps
This is a straightforward routine you can follow to achieve an impressive, simple, double-braided goatee each and every time. As you’d expect, the first time will be the hardest and your results will likely be mediocre.
Don’t let it get you down. Keep at it, and the rewards will come. Before you start, the first thing you should ask yourself is whether your goatee is long enough to braid.
It doesn’t need to be sweeping the floor, and you’d be surprised by how you could get a little braid into even an inch of length. But if you’re rocking something shorter you might want to give it a bit more time. The longer the goatee, the more impressive the braid.
What You’ll Need:
- Enough length – this is crucial.
- Beard shampoo – a clean beard is much easier to braid
- Beard brush or beard comb
- 4 Rubber bands – to keep things in place
1. Wash and towel dry the goatee
Braiding a goatee is often easiest after it’s been towel-dried but still a little damp. This will make it easier to work.
Using a beard shampoo to clean it out beforehand will remove dirt, oil, grime, and sweat and will stop the braided result from looking unclean and greasy.
But again, this will also make it easier to braid as your fingers can get a better grip on them.
Apply a quarter-sized amount of beard shampoo into your palm and run it through your wet goatee. Gently separate the strands and work them well. Once you’ve done your entire beard, wash it out and towel dry.
2. Brush or comb it through
The purpose of this is to straighten and detangle the goatee before you braid it. It’s an easy way to get the job done quickly.
Hopefully, this is something you do regularly, as the benefits of beard brushing and beard combing are very significant.
Shorter goatees could get away with just using a boar bristle beard brush. But longer goatees will need the longer teeth of a beard comb to really untangle the deeper hair before the braid.
Anyway, although this step isn’t essential, it’s definitely recommended for the best results. It’ll make the beard so much easier to twist, mold, and tie.
Plus, it’s just a good goatee grooming habit to get into.
3. Separate it into thirds
Do this at the level of the chin if you want the braid to start at the chin. Alternatively, do this halfway down the goatee if you want the braid to start there, and so on.
For the purposes of this tutorial, we’ll separate the goatee into three equal sections at the level of the chin.
One day, you’ll be able to do this and proceed with the braiding with no problems whatsoever. However, in the earlier phase of your goatee braiding career, you’ll find this quite fiddly.
The best way to make things easier would be to double-tie a small rubber band at the base of each of the three sections near the chin. This will keep the thirds in place while you focus on the braiding to come.
Try to make the thirds as equal as you can before moving onto the next step. Remember, these rubber bands won’t be staying – consider them training wheels. You’ll be snipping them off at the end of the tutorial.
4. Start braiding your goatee
Now that you’ve got your three tufts (sections) firmly secured you can start the braiding process. You’ll be starting at the top near the chin and working your way down to the bottom.
Pull the right tuft over the middle tuft. The right tuft will then, of course, become the middle tuft. Then, pull the left tuft over the new middle tuft. The left tuft will then, of course, become the middle tuft.
Then, pull the right tuft over the new middle tuft, and repeat the process. This is the simple art of braiding your goatee. Right over middle, then left over middle, and repeat.
Continue to repeat the process moving down from the chin to the tip of your long goatee. It’s quite rewarding seeing the braid progress downward as you gallantly reach the finish point.

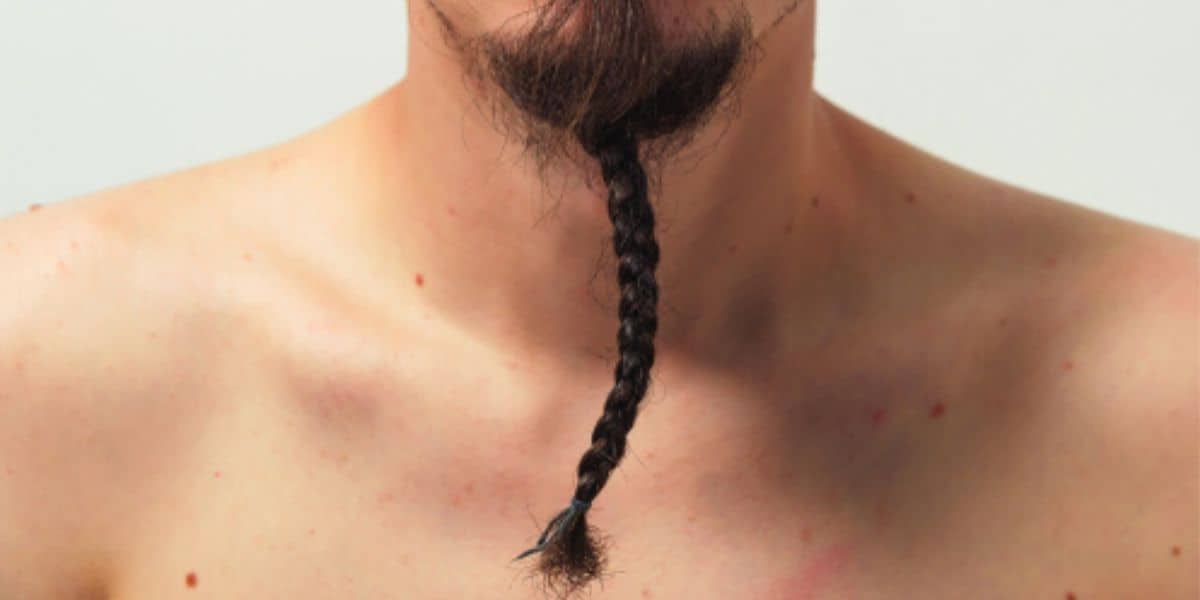
5. Tie off the end of the goatee
Now you’ll be using a rubber band or a hair tie to keep the braided tip of the goatee in place. There’s nothing worse than the undoing of your braided beauty before your very eyes.
You can choose to tie off the very tip for a neat and tight braid. An equally impressive alternative, however, would be to tie it around half an inch to an inch from the tip. This will allow the end of the goatee to un-braid, leaving a nice tassel at the tip.
6. Cut off the rubber bands at the top
Remember those training wheels near the chin? The rubber bands you used to keep the three sections in place need to come out – they won’t look good kept in.
They’ll be buried in the braid by this point, and so will need cutting off with a small pair of scissors.
Do it slowly and carefully so as not to snip any of the actual braided goatee.
Hopefully, one day, you’ll be able to do this entire process with your eyes closed. It’ll become second-nature to you, and you won’t even need to use these extra rubber bands to keep things in place.
2 Braided Goatee Variations
So you’ve learned the art of creating a single, long, braided goatee. Hopefully, you’ll have noticed how there really isn’t a lot to it. It isn’t rocket science, by any means.
Once you’ve gotten to grips with the tutorial above, there’s no reason why you can’t apply the same practice and principle to a few style variations. Changing things up now and again will keep you from getting bored – it’s a huge amount of fun.
Here are two additional styles you can try out. I’ll briefly explain how to achieve them, but you’ll quickly notice how the braiding principle and technique is exactly the same. It’s just applied in a different way to produce an exaggerated and in some ways more unique style.
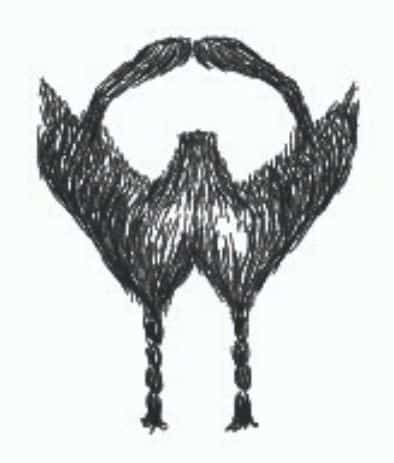
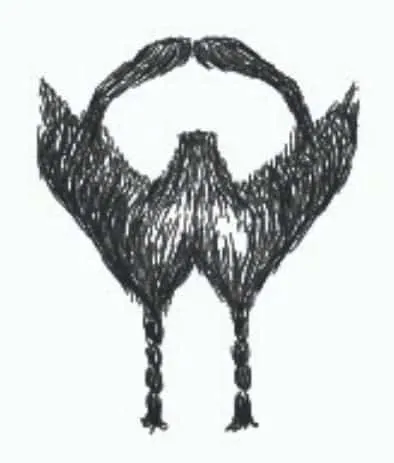
The French Fork
Stunning. All you have to do here is split the goatee into two large sections – tie them at the level of the chin to keep them in place. Then, split each of these two sections into three smaller sections. Tie them with rubber bands to keep them in place.
Hopefully, you see where I’m going with this. Follow the same principle as you did in the tutorial above, but consider each of those two large sections as separate goatees. Follow the same braiding practice you did above for each section.
What this will do is produce the same effect as before, but produce two long braids instead of one. This is called the braided French Fork.
Neat, right?
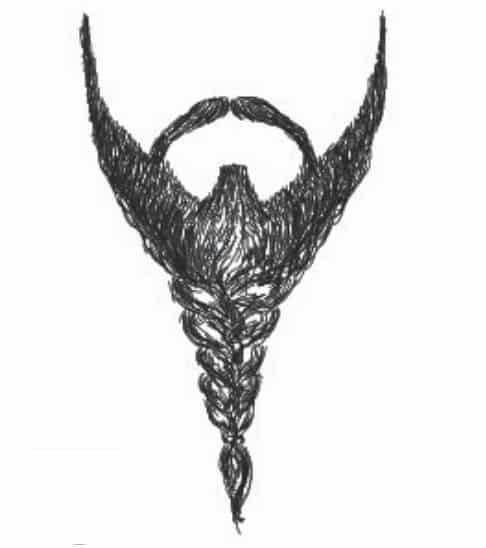
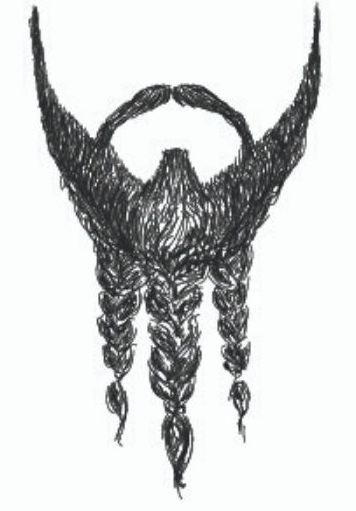
The Mighty Trident
I won’t delve too deep into the specifics here – it should be pretty obvious by now and I don’t want to bore you.
Having said that, how could you possibly be bored by a braided goatee style as glorious as this one?
Essentially, the general principle still applies. It’s very similar to the French Fork style, only this time you split the entire goatee into three sections instead of two. Each of these three sections will be split into three smaller sections and braided as individual goatees.
This will produce three long braids and should eventually look similar to Poseidon’s trident, carried with similar majesty and fury.

Additional Goatee Braiding Tips
Here are some additional tips to help you achieve braided success. They aren’t essential, but if your objective is perfection you’ll want to read on.
1. Don’t leave it braided for too long
Leaving the goatee braided for too long isn’t a good idea. It’ll be harder to untangle the longer it’s left twirled. Tangled hair is always going to be harder to manage, lead to split-ends and look patchy as well.
It’ll also start to become very unclean. Goatee hygiene is essential. Leaving it in a braid for several weeks at a time will cause dirt, oil, and sweat to accumulate without you even knowing it.
Although there’s no exact science here, I’d generally recommend un-braiding it at least once a week to give it a proper clean. Of course, you can rinse the braided goatee with water only, but this won’t be good enough in the long term.
Now and again, you’ll need to undo your work, let it breathe, wash it out with beard shampoo, and brush it out to keep it in check.
2. Try a small amount of beard wax
This is particularly worth trying out with the braided goatee variations. If you’re trying out a more complex style, there’s no harm in adding a bit of extra hold with beard wax.
A small amount of beard wax is ideal for keeping complicated facial hairstyles in place. If you’ve got your braids in but notice stray hairs poking out and just want it to look a little neater, try applying some beard wax.
Not too much, however. Remember, you won’t be able to clean it properly while your braids are in. Wax will accumulate, and at a time when you won’t be cleaning your goatee as much as you usually would, you’ll want to use it sparingly.
If you want to try a product with less hold but is also less heavy, try some beard balm. Beard balm may not be as strong as beard wax, but it can also feel more comfortable to apply. It’s also usually quite moisturizing for the facial hair.
3. Beard oil for maximum masculinity
The point at which you apply a few drops of beard oil would be after you’ve washed and dried it, and before you start tying the braids.
Beard oil is nourishing – there’s no doubt about this. It’s intensely moisturizing for both the beard and the underlying skin. It adds a nice, gentle shine, and also reduces beard flaking.
Apply a few drops to your long goatee and comb it through before you braid it.
Another wonderful benefit of beard oil is the scent. There are a countless number of scents available, from cedarwood to peppermint. If you prefer unscented, there are also plenty to choose from.
But the combination of a brushing, braiding, and beard oil shouldn’t be understated. It’s a meticulously coordinated symphony of masculinity.
Conclusion
There you have it – how to braid a goatee like a consummate professional. Hopefully, you’ve realized how incredibly easy it is. Again, it looks more complicated than it really is.
Knowing how to braid is a useful and incredibly masculine skill to have in your back pocket. What’s great about it is that the braiding principle and technique can be applied to produce so many different beard styles.
Practice, and practice with vigor and purpose. You’ll soon achieve the dizzying heights of masculinity the Vikings before you did.
Explore More Beard Guides
- Beard Styles for Every Face Shape – which face shapes work best with goatees
- Trending Beard Styles for 2026 – the modern sculpted goatee is making a comeback
- The Ultimate Men’s Beard Guide – your complete beard resource
🏆 Recommended Beard Essentials
- Philips Norelco Multigroom 9000 — Best overall trimmer
- Honest Amish Classic Beard Oil — Top-rated, natural
- Honest Amish Beard Balm — Great for hold + conditioning
Axel is the founder of ReadySleek and has spent over 5 years researching and testing men’s grooming products, skincare routines, and hair loss treatments. His work combines hands-on product testing with insights from dermatologists and trichologists to deliver evidence-based grooming advice.
He specializes in men’s skincare (including ingredient analysis of retinol, niacinamide, and SPF), hair loss science (minoxidil, finasteride, hair transplants), men’s fragrance (with 80+ colognes personally tested), and body grooming techniques.
When he’s not reviewing the latest grooming products, Axel focuses on making complex grooming topics accessible and actionable for everyday guys.