Ultra-short is in style – that’s no secret. Plus, running your fingers over a beautifully buzzed down scalp is a feeling like no other. Here’s everything you need to know about the 3mm haircut.
It’s incredibly easy to maintain and to keep neat. Plus, it works wonders for men with thinning hair or receding hairlines.
These days, knowing how to properly pull off an effective and impressive DIY haircut is important. It doesn’t get much easier than this length.
Here’s what we’re covering.
You need to know what clipper guard number to use, what the 3mm haircut looks like, how to trim it yourself, and the best clipper to use to do it.
Let’s get to it.
Which Clipper Guard Number For A 3mm Haircut?
The clipper guard number you need to produce a 3mm haircut is a grade 1.
This guard size will quickly and easily trim down to exactly 3mm (⅛ inch).
The good thing is that almost all clippers, no matter how expensive, will come with the #1 guard size. It’s too popular to leave out.
If you’re looking to trim a long buzz cut, you may need to be more careful with your clipper choice. Some cheaper pairs of clippers don’t come with larger guard sizes. You may end up having to buy these guards separately.
But why is it important to know all this?
Well, men around the world are attempting to trim their own hair but often confuse the guard number for the number of millimeters it’ll trim down to.
Now, you’ll never make that mistake. Understanding hair clipper guard sizes is probably the most important part of DIY trimming.
If you’ve got a pair of clippers that are a bit higher-end, you may notice a lever on the side that you can push forward (close) or pull backward (open).
Closing the lever is a way of trimming down just a little bit shorter. So, if you’ve trimmed down to 3mm using the #1 clipper guard with an open lever and feel like you want to go a bit shorter, it’s possible.
Just push forward the lever (i.e close it) and try again. It just gives you a bit more flexibility when it comes to length.
It allows you to trim slightly shorter without having to commit to a smaller guard size altogether (or no guard at all).
What Does A 3mm Haircut Look Like?
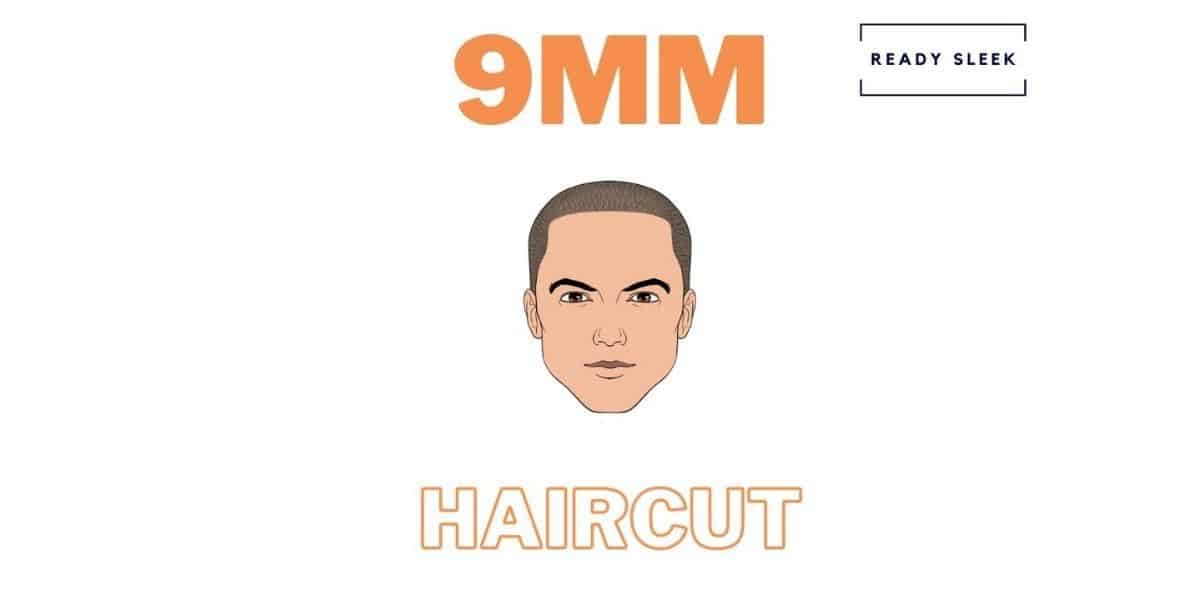
The 3mm haircut all over is simply an induction-style buzz cut that’s very short and very evenly trimmed.
Here’s what it looks like:

As you can see, it’s perfect for men looking for something sleek and simple.
Grooming, styling, washing, drying – it’s all just so easy.
There isn’t much you can do in terms of styling it, but that’s part of its appeal. There’s just no need.
It’s nowhere near long enough to need any styling product and you wouldn’t be able to achieve anything with it anyway.
All you need to do to maintain it is run a #1 clipper guard over it regularly and line up the hairline and neckline.
But is there anything you can do to style it?
The simplest way to make a 3mm haircut a little more interesting is to vary the length. More specifically, change the length at the sides and back.

Here are a couple of options:
- The “high and tight”. Leave the top at 3mm (#1 grade) and either clip the sides and back down to a zero grade or shave them completely. The sharp and sudden change in length between the top and the sides/back is what makes it look unique. It’s a military-style favorite.
- Fade the sides and back. Having the length gradually increase as you go up the sides and back produces a different effect to the high-and-tight. Blending shorter lengths into longer lengths like this is what’s known as a fading effect and is best left to barbers if it’s going to be done properly.
Other than that, there aren’t really any styling options. But that’s absolutely fine.
Men looking to trim down to 3mm aren’t looking for fancy quiffs or pompadours. They want something that’s straightforward, masculine, and serves a purpose.
The Best 3mm Hair Clipper
This is a tough one. There are plenty of clippers out there that’ll get the job done – some of them cheap and some of them not so cheap.
The one you choose really depends on what you’re looking to achieve.
If all you’re looking to do is trim a basic (but stylish) 3mm haircut all over (an induction buzz cut), go for a basic (but effective) pair of clippers. Nothing fancy.
The Wahl Color Pro clippers (Amazon Link) are perfect for beginners who just want something simple and affordable. You’ll get the clipper guards #1 – #8 which should give you plenty of choice with length.
But if you’re looking for perfection or just want to get a little more complicated with it, you’ll need something more suitable.
Maybe you’re looking to experiment with DIY fades. Or maybe you just want to make sure your trims are as effortless, smooth, and even as possible.
You might want to go for something a bit higher-end. Nothing excessive – but middle range.
The Wahl Magic Clips (Amazon Link) are great because they’re widely used by professionals but also affordable and easy to use.
At the end of the day, just make sure that the pair of clippers you buy is enough for your specific purposes.
You can be pretty certain it’ll come with a #1 guard (the one you’ll need for 3mm), but double-check just in case.
If you think you may want to experiment with longer lengths as well, make sure it comes with the necessary guard sizes.
Why The 3mm Haircut Is Great For Balding Men
This might sound unusual; trimming hair ultra-short to make thin hair look less obvious.
But hear me out.
Clipping your hair down to an even 3mm length is an excellent way to make thin patches and receding hairlines less noticeable.
Buzz cuts in general are great for receding hairlines. But overall, the shorter ones are even better.
The reason for this is that when the hair is so short, there’s less of an obvious transition from the forehead skin to the frontal hairline. It sort of just blends into one and you don’t really notice that the hairline is pushed back.
The reason that thinning on top is less noticeable is that there’s less of a difference in length between the bare/thin patches and the hairy parts.
Overall, this makes the top look thicker and fuller than it would if the hair was longer.
Interesting, right?
How To Trim A 3mm Haircut All Over
Nothing complicated here. Just a straightforward, step-by-step routine you can use to DIY a 3mm haircut with an excellent outcome each time.
1. Charge And Clean The Clipper
You’ll want to make sure your clipper is fully charged before you trim. Slow motors will cause the blade to tug and pull during the trim.
If you want a nice, even, and effortless trim, charge it well before any haircut.
Clean the clipper by using the little brush it came with to sweep around the blades. If it didn’t come with one, an old toothbrush will do.
Clogged blades are another reason for tugging and uneven trims.
2. Wash Your Hair
Clean hair is also much easier to trim than greasy or oily hair. Wash it and then dry it completely.
Clippers should only be used on dry hair. It’s safer, and also more effective.
3. Trim The Top And Sides To 3mm
Clip on your #1 clipper guard to the blade, making sure it’s nice and secure.
Start trimming the top and sides. It’s best to leave the back until the end because it’s trickier.
Using your bathroom mirror to guide you, trim against the grain (against the direction of hair growth) to get a nice even trim throughout.
Don’t forget the areas behind the ears.
4. Trim The Back Down To 3mm
The back is harder because it’s more difficult to see. Plus, there are lots of dips in the back of the head that can be hard to move the clipper guard over properly.
Also, the crown area usually has hair that travels in different directions, so trimming against the grain can be difficult.
Use a handheld mirror if you can. Turn around so your back is facing your bathroom mirror and hold the handheld mirror in front of you.
You should now be able to see the back of your head reflecting off of the handheld mirror.
Start trimming. Placing a finger over the guard should help you navigate those pesky dips and grooves. Just be careful the guard doesn’t slip off.
Try and get a rough idea of what direction the hair grows around the crown area and do your best to trim against the grain.
Having said all this, if you’ve got a trusted friend or loved one that can do the back for you, it would be better. If not, you should still be fine if you follow those basic tips.
5. Sort Out The Neckline
The neckline is the lower border at the back. It’s the border between the neck skin and the hair.
In terms of lining up your cut, it’s the main one you’ll want to sort out when trimming a 3mm haircut yourself.
A barber would do this for you in no time and with no trouble. But when doing it yourself, it’ll be a bit harder because of where it is.
Once again, the handheld mirror will be essential if you’re going DIY. Also, if there’s anyone else that can help you out with this part it would be great.
You can choose to square off the neckline or leave it rounded.
Lining up the frontal hairline/sides isn’t as important unless you’re looking for perfection. Using a straight razor here would be ideal (if you’re comfortable with using one).
Once you’re done, run your fingers over your hair to see if you can feel any uneven patches.
Then, wash, dry, and admire.
Conclusion
Hopefully, that’s everything you could ever want to know about this haircut length.
Short, sweet, simple.
No wonder it’s such a popular choice.
Enjoy.
Ready Sleek founder. Obsessed with casual style and the minimalist approach to building a highly functional wardrobe. Also a fan of classic, vintage hairstyles.

![The 3mm Haircut: Number, Styles, Trim Guide [With Photos]](https://www.readysleek.com/wp-content/uploads/2020/12/The-3mm-Haircut-Feature-Image.jpg)
