When choosing a haircut length, knowing what to expect is incredibly important. Clipper grades and haircut “numbers” can be confusing. Here’s everything you need to know about the number 4 haircut.
This article contains affiliate links. If you purchase through our links, we may earn a small commission at no extra cost to you. This helps support Ready Sleek.
Let’s get to it.
Quick answer: A number 4 haircut is 13mm (1/2 inch) – the first length that brushes and shows real texture, while staying clipper-simple. It sits well over a low taper, and the all-over version is the number 4 buzz cut.
| Guard | Length | The look |
|---|---|---|
| #3 | 10mm | Classic buzz, no styling |
| #4 | 13mm | Texture shows, light styling possible |
| #5 | 16mm | Enough for a brushed direction |
What Does The Number 4 Haircut All Over Look Like?
The number 4 haircut looks like this:

As you can see, it’s short but not that short. In fact, it’s significantly more subtle than the number 2 and even the number 3.
The great thing about the number 4 haircut is that it’s great for men getting a buzz cut for the first time.
It’s short enough to be labeled this but isn’t quite as drastic as the shorter ones.
Going short will always be a risk when you haven’t seen yourself with hair that short before. A common issue people have is that their head shape takes them by surprise.
It may look rounder than ever before and some men have trouble coming to terms with this.
But the number 4 haircut is still long enough to allow for some coverage.
In fact, it’s also usually long enough to prevent the scalp from showing too much. With short haircuts, this can be a problem – particularly under a strong light from certain angles.
Another benefit of this length is that it’s very easy to maintain, as you could guess from the image above. Washing and drying become a cinch and your morning hair routine suddenly becomes extremely simple.
Overall, the number 4 haircut looks effortlessly tidy and is surprisingly versatile.
What Length Is The Number 4 Haircut?
The number 4 haircut is 13mm long (approximately half an inch) and is trimmed using the #4 clipper guard.
Most clippers, even budget ones, will come with a #4 clipper guard. It’s an extremely common length for both barbers and DIY trimmers to trim down to.
This could be a number 4 haircut all over or a number 4 on top with a shorter length (eg. a #1, 2, or 3) on the sides.
The tapered appearance of a number 4 on top with a 2 on the sides, for instance, is a good way to go. A #3 on the sides would be a more subtle contrast but will still produce a great tapered effect.
The sides and back may or may not be faded, as I’ll come onto shortly.
But the point here is that trimming everything down to a number 4 length all over sometimes isn’t the best way to go. It often grows out poorly, in a sort of “fuzzball” appearance.
Tapering the sides and back down to a shorter length while leaving the top at a number 4 length, will often allow a number 4 haircut to grow out in a more attractive manner.
The Number 4 Haircut With A Fade
The number 4 haircut with a fade consists of a number 4 length on top, with the sides and back gradually increasing in length from bottom to top. The faded appearance occurs due to the seamless blending of different lengths at the sides and back.


Image From Deposit Photos
It’s important to understand the difference between fading the sides and simply leaving it all trimmed down to the same length. I’ll be discussing the second option in the next section.
But the number 4 haircut with a fade will have a very characteristic appearance.
The sides and back are not trimmed down to the same length. They’ll consist of a variety of different lengths blended together.
The shortest length will be at the bottom of the sides and back. This length could be anything ranging from shaved skin (i.e a skin fade) to a #1, 2, or even 3. The top, will of course be left at a #4 length.
The shortest length at the bottom will then transition into longer lengths at a certain point up the sides and back.
In “low fades”, this transition usually occurs around half an inch above the ear.
In “mid fades”, this transition usually occurs around an inch above the ear.
In “high fades”, the transition usually occurs around the level of the temples.
The higher the transition point of the fade and the shorter the shortest length of the fade, the more obvious and striking the fade will generally look.
When you’re trimming a #4 haircut with a fade, fading the sides and back is a great way to make it look a little bolder and more interesting.
The fade effect will always be eye-catching and more unique than a simple number 4 haircut all over.
Due to the technical aspect of creating the fade, unlike the all-over cut, it won’t be possible to DIY it unless you’re especially skillful with a pair of clippers.
Going to a barber to get it done will always be the best option.
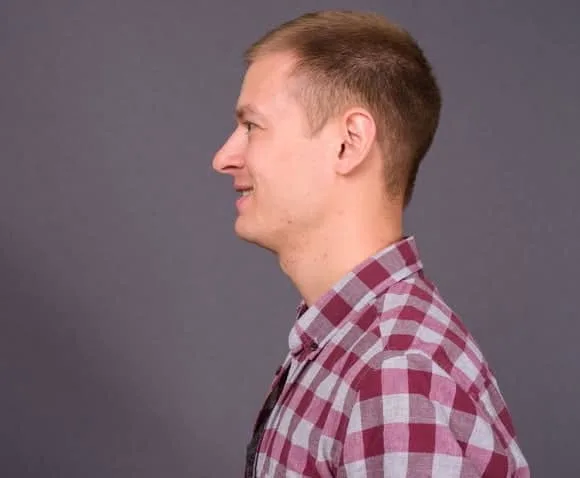
The Number 4 Haircut On The Sides
With a number 4 haircut on the sides, the sides are trimmed down to a number 4 length while the top can be of any length and styled in many different ways.
A number 4 haircut on the sides looks like this:

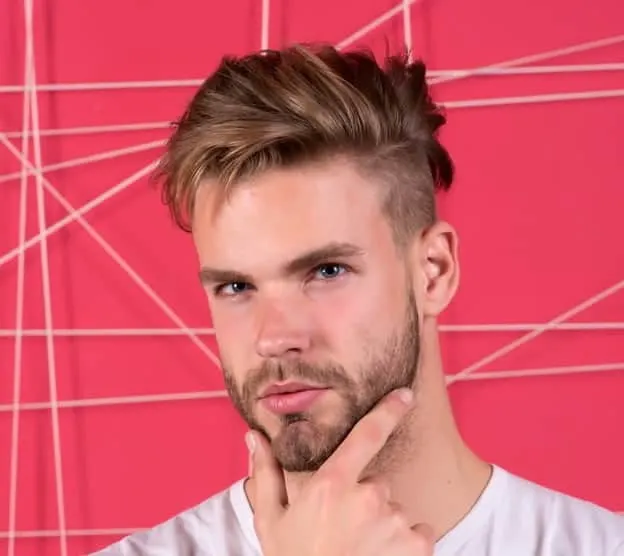
Image From Deposit Photos
While the term “number 4 haircut” is often used to refer to a style where everything is trimmed down to a #4 length, it’s important to realize that this isn’t always the case.
When discussing what you want with your barber, be sure to make it clear what you want.
When you ask for a #4, do you want it all trimmed down to a #4? Or is it just the back and sides?
Be ultra-clear with instructions and leave no room for error.
Trimming the back and sides down to a number 4 has its benefits, especially when you’re growing the top out.
A #4 on the sides and back is still short enough to produce a nice tapering effect, adding definition to the jawline.
But it isn’t as short as a #1, 2, or 3 on the sides. For men who don’t want too much of a narrowing effect on the face, a #4 on the sides may be a better option.
How To Give Yourself A Number 4 Haircut
Here’s a quick, step-by-step tutorial on how to give yourself a number 4 haircut. It’s actually pretty easy to DIY when all you’re doing is trimming everything down to a #4 length.
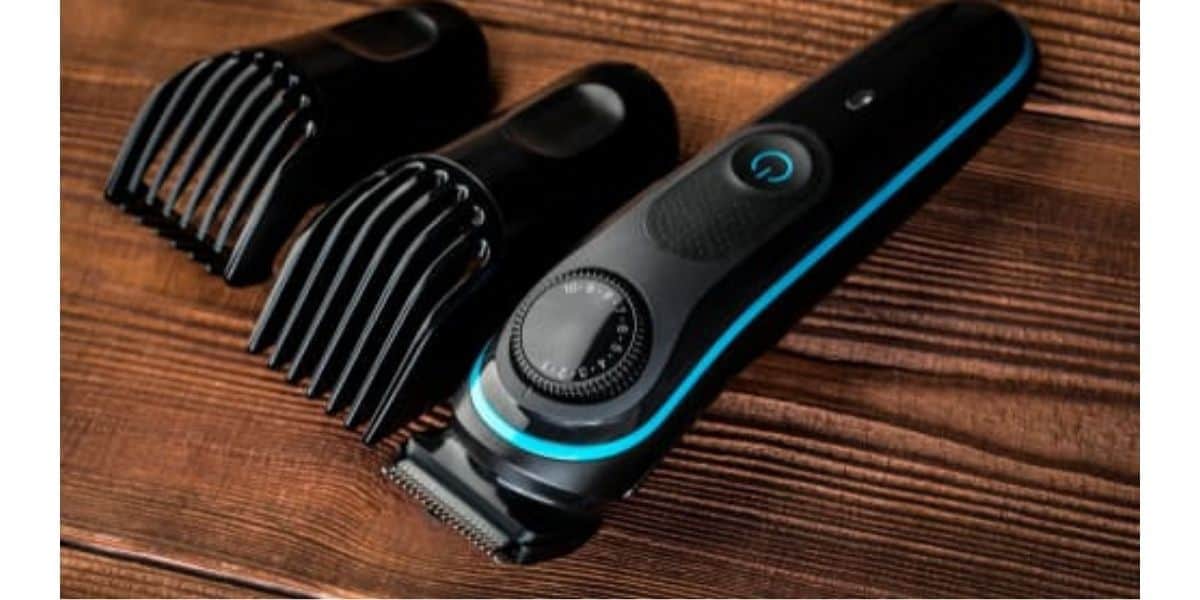
You’ll need a clipper that comes with a #4 clipper guard. There are plenty of them out there.
Other than that, you’ll need a bathroom mirror and ideally a handheld one to help you do the back.
1. Wash And Dry
It’s much easier to clip down clean and dry hair than it is to clip down greasy hair.
In fact, it won’t just be quicker and more efficient. It’ll also produce better results, with a more even cut.
After washing it, towel-dry or blow-dry it until it’s completely dry.
Clipping down wet hair is never a good idea.
2. Trim The Top And Sides
Although it doesn’t really matter which area you start with, the back is usually the toughest area. Because of that, leaving it until the end is usually the best option.
Before you start trimming, ensure that your clipper is prepped.
By that I mean it should be charged (if it’s cordless), oiled, and brushed.
Most clippers – even budget ones – come with a little bottle of lubricating oil to help the blades slide past each other with the minimum amount of friction.
In addition, most clippers come with a little brush that can be used to clean around the blades. If you don’t have one, a toothbrush or a similarly small brush should do the trick.
Oiling and cleaning the blades should allow the clipper to slide across your scalp with minimal tugging and pulling. This should lead to a more comfortable cut and a more even cut as well.
Once it’s prepped, clip on your #4 clipper guard and start trimming the top and sides. Trim against the grain (i.e against the direction of hair growth.
On the top, this will usually be backward and on the sides, this will usually be upward.
The area behind the ears can be tricky. Gently pull the ear forward and try to catch the difficult hairs behind them.
3. Trim The Back
The back is by far the hardest area to DIY. This is because, as you’d expect, it’s tough to actually see.
If you’re able to get someone else to do it, this will often be a better option (assuming it’s someone you trust).
But if you’ve got to do it yourself, a handheld mirror would be an invaluable tool to have handy.
Hold it in your other hand and turn around with your back facing the mirror. You should now be able to see the back of the head via the mirrors reflecting off of each other.
When clipping the back down to a #4, take it slow. The back of the head often has ridges and grooves that can be tough to navigate with a clipper.
Going slow should help.
In addition, the crown area often has hair that grows in several different directions, which makes clipping “against the grain” especially difficult.
There’s no easy way around this. The best option is usually to simply have a feel of the area to figure out the directions of growth, then vary the angle of the clipper to get as even of a cut as possible here.
4. Look And Feel For Uneven Areas
Ensure that you take a look in good lighting and from different angles – again, the handheld mirror may come in handy here.
Sometimes, you can feel patchy or uneven areas that you aren’t even able to see. So, have a feel across your scalp to feel for any areas that feel “rough”.
This is usually a good indication that you need to go over the area again with your #4 guard.
5. Sharpen Up The Neckline If You Want To
The neckline is the lowest border of your hair at the back. You can choose to keep it au naturale and this is often a good option when the hair is this short.
It usually doesn’t look too untidy and trying to DIY this job is pretty difficult in any case.
However, if you want to square it off, there are tools to help you do it nowadays.
A neckline template like The Heband is one of them.
Just be careful you don’t take the neckline up too high as this would completely ruin your efforts up to this point.
Also, make sure the template is set straight before you start clipping underneath it.
6. Shower Time
Hop in the shower and wash off any excess hair.
At this point, you’re done.
Step back and admire your work.
🏆 Recommended Grooming Tools
- Philips Norelco Multigroom 9000 — Best overall trimmer for beard & hair
- Philips OneBlade 360 — Best budget trimmer & shaver
Frequently Asked Questions
Here are some answers to frequently asked questions on the #4 haircut.
Should Balding Or Receding Men Get A Number 4 Haircut?
The number 4 haircut is often an excellent option for balding men and men with receding hairlines. It is long enough to minimize the amount of scalp that shows through and also to partially cover the temples. Receding hairlines often look less obvious with a number 4 haircut.
Trimming the hair down super short may sound like a strange way to make balding and receding hairlines less obvious, but it’s effective.
I’ve written more about this effect here, but I’ll briefly talk through it now as well.
When the hair is all trimmed down very short and even (like with a buzz cut), the difference between thin areas and thick areas is less noticeable.
Everything just looks more uniform and this can take attention away from thinning areas.
In addition, when you trim everything down so short, the transition from the receding hairline at the front to the hair on top is also less obvious.
Again, this is often appealing.
The shorter the haircut, the more pronounced this effect.
But many balding men feel uncomfortable about going this short, especially on their first attempt.
The number 4 haircut is a great option for balding men because it’s short enough for this effect to take place, but not so short that it’s too drastic of a change for them.
In addition, it’s still long enough to minimize the amount of scalp showing through – there’s still some coverage.
Overall, the #4 is one that’s worth trying here.
What About A Number 4 Haircut With A Beard?
A beard often works very well with a number 4 haircut. With the hair on top being so short, a beard is a good way to add some length and structure to the face.
A common issue with trimming haircuts this short is that it often makes the head and face shape look more obvious.
For example, after trimming a number 4 haircut you may find that your face looks rounder than you’ve ever seen it before.
This is because you’ve no longer got the ability to add length to the face using the hair on top – there’s simply not enough of it there anymore.
A “simple” solution to this would be to add that length from the bottom end of the face instead.
By this, I mean growing a beard.
A beard would add length to the bottom end of the face – the longer and pointier the beard, the more pronounced this effect would be.
Of course, you’ve now got the additional maintenance requirements of a beard and this can’t be ignored.
But the low maintenance nature of the super-short number 4 haircut should partly make up for this.
Is The Number 4 Haircut Too Short
Considering the number 4 haircut is only 13mm long, it would be too short for people looking for any real ability to style the hair. For people looking for an effortlessly tidy and low maintenance style, the number 4 haircut would be the ideal length.
Deciding whether this length would be too short for you or not does depend on your preferences and goals.
If you aren’t looking to style quiffs, combovers, pompadours, slick backs, or really any style where you require the ability to maneuver the hair in different directions, the number 4 haircut would be too short.
If this isn’t important to you and you’re happy with simply letting the hair be, it probably is the perfect length.
It’s long enough to apply a small amount of product to in order to neaten things up and flatten any strays or flyaways.
But other than that, it really doesn’t require much grooming or styling. It’s a sort of “set it and forget it” length that a lot of men find appealing.
However, another reason why some people may find the #4 haircut too short is their face shape.
Remember, short haircuts can exaggerate the shape of the face because you can’t add much height up top.
This can sometimes make the face look rounder or shorter than you might like. While this may not be a problem whatsoever for you, it’s important to consider.
If you find that this effect is noticeable or unappealing, the #4 haircut may be too short for you.
Number 3 Haircut Vs Number 4 Haircut
The number 3 haircut consists of hair that is 10mm long (3/8 of an inch) and trimmed using a #3 clipper guard. In contrast, the number 4 haircut consists of hair that is 13mm long (1/2 an inch) and trimmed using a #4 clipper guard.
While a difference of 3mm or so may not sound like much, it’s actually pretty easily noticeable.
A #3 haircut does, as you’d expect, look significantly shorter than a #4.
This does have its benefits – it’s arguably even easier to maintain than a #4 haircut and also usually makes balding and receding hairlines even less noticeable.
However, it’s often short enough for significant amounts of the scalp to show through under bright lighting.
While some may not care, others may take issue with this.
In addition, it’s also just more obviously short than a #4 haircut.
What I mean by this is that for men trimming that first ultra-short haircut, going straight for a #3 may be too big of a difference from their usual style.
Going this short straight away can often leave men surprised with the results, simply due to the difference from their usual style.
Because of this, going for a #4 before jumping to a #3 is often a good stepping stone.
If you’re a fan of the #4 and feel you want to go even shorter, clip on that #3 and see if you like that too.
Conclusion
There you have it.
Hopefully, everything you could possibly want to know about the number 4 haircut.
Enjoy.
Written & Fact-Checked By
The Ready Sleek Team
Grooming obsessives since 2019. Evidence-based advice you can trust.
Frequently Asked Questions
Is a number 4 haircut half an inch?
Yes – 13mm is 1/2 inch. It is the crossover point where a buzz starts reading as a short haircut rather than a buzz.
Can you style a number 4?
Lightly – a matte paste adds direction and texture, though it will not hold structured shapes. That starts around a #5-#6.
What fade works best with a number 4 top?
A low or mid taper keeps it office-clean; a skin fade adds contrast. The 4-on-top-2-on-sides combination is the timeless default.
Axel is the founder of ReadySleek and has spent over 5 years researching and testing men’s grooming products, skincare routines, and hair loss treatments. His work combines hands-on product testing with insights from dermatologists and trichologists to deliver evidence-based grooming advice.
He specializes in men’s skincare (including ingredient analysis of retinol, niacinamide, and SPF), hair loss science (minoxidil, finasteride, hair transplants), men’s fragrance (with 80+ colognes personally tested), and body grooming techniques.
When he’s not reviewing the latest grooming products, Axel focuses on making complex grooming topics accessible and actionable for everyday guys.