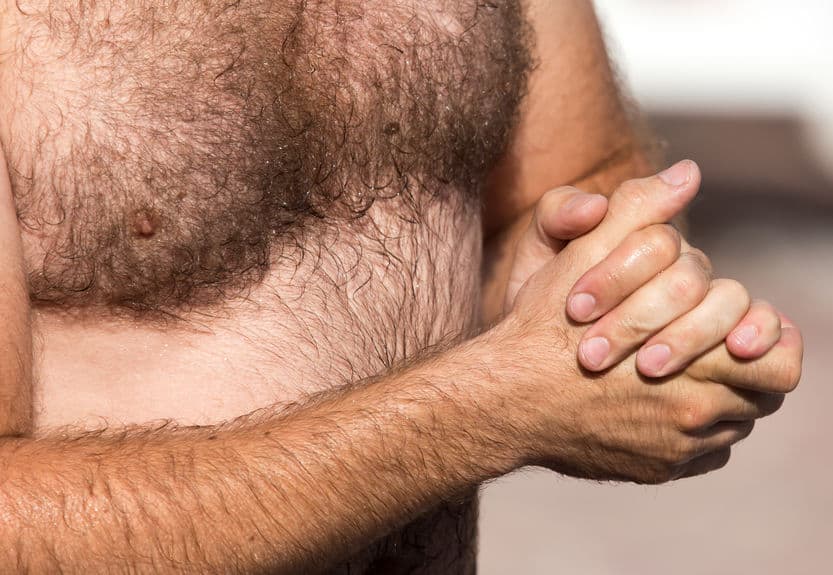
Whether you’re looking to mask some grays or enhance some colors, dyeing your chest hair could transform it. Fuller, younger, more masculine – whatever you want. It’s possible. But how do you dye your chest hair without staining your skin?
This article contains affiliate links. If you purchase through our links, we may earn a small commission at no extra cost to you. This helps support Ready Sleek.
Wearing gloves, applying Vaseline around the borders of your chest, and using a no-drip dye are a few of the ways you can minimize staining. The technique is also important, as a lighter touch when applying the dye and vigilance when wiping mess will help. You will definitely get better at it with practice.
What I wanted to do is dive deeper into the ways in which you can minimize skin staining during the chest hair dyeing process.
Let’s get to it.
6 Ways To Reduce Skin Staining When Dyeing Chest Hair
Ultimately, if you do notice some staining that lingers, it isn’t the end of the world.
But prevention is always best. Here are some simple ways to reduce the dreaded skin staining.
1. Wear gloves and lay down (lots) of towels
Consider this one low-hanging fruit. Whether or not you’re going to be using an applicator brush, you will get some on your hands. It happens to even the neatest and most experienced
To save your hands from some frustrating, unwanted coloring, just pop on a pair of disposable gloves.
Also, it’s often recommended that dyeing efforts take place in the bathtub, surrounded by a layer of old towels. I’d find this difficult, mainly because there’s no mirror nearby. But hey, you might make it work and it’ll be much easier to clean things up afterward.
2. Apply some Vaseline around the chest hair
While looking at the mirror, apply some Vaseline to the borders of your chest hair. The aim here is for the petroleum jelly to repel or prevent the dye from leaving these borders. In other words, prevent staining outside of your chest hair.
Although it sounds great, in reality, it isn’t perfect. It does help, but it isn’t enough to confine all of the dye within such a fixed shape.
But it’s worth doing, and some men swear by it.
3. Use a no-drip dye
There are certain dyes that market themselves as “no-drip”. They understand the benefit of not having the dye run down your chest and into unwanted territories.
One example would be the Betty Beauty dye designed for women’s pubic hair. Remember, there aren’t any mainstream dyes made specifically for chest hair yet. But this one would work well. I’ll talk more about it in the section below.
But the point is that this dye would minimize skin staining further by reducing the amount that drips down below your chest.
It’s just something to look out for when selecting your dye. Not essential, but it’s worthwhile.
4. Use a light touch
Rubbing the dye into your chest isn’t a good idea for obvious reasons. However, it can be difficult to prevent it completely and dye your chest hair effectively.
If you’re using an applicator brush, try and use a light touch when applying the product. Brush in an upward motion, and then smooth out the dye using your fingers from root to tip.
Again, do your best to work on the hair and not on the skin. But it’s easier said than done. It’s certainly something you’ll get better at with practice.
5. Wipe off stains as soon as you can
This doesn’t refer to skin staining you notice under the chest hair itself. That would be tricky. Trying to wipe that off would risk prematurely wiping the dye off the chest hair as well.
But any staining you notice outside of the immediate area being dyed should be wiped off with a damp towel as soon you see it happen.
The longer you leave the dye sitting on the
6. Rub down with a towel afterward
Each dyeing product will come with an instruction leaflet specifying the amount of time you leave it on for.
Once you’ve left it on and rinsed it off in the shower, rub your chest down with a towel. Be careful, considering dyed skin is usually quite irritated.
You’ll most likely notice the towel staining – that’s good. It’s better on the towel than on your skin.
What To Use To Dye Your Chest Hair
As I mentioned above, “chest hair dye” doesn’t exist in a mainstream form yet. We have to find alternative solutions to get the job done.
Fortunately, there are dyes that are marketed as being designed for other parts of the body but work perfectly fine for chest hair.
But the most important tip I can give you at this point is to not use hair dye on your chest. Hair dye shouldn’t be used on anything other than your scalp. It’s too harsh for facial and body skin.
The dye you use over your chest skin should ideally be natural and devoid of harsh chemicals. Scalp skin might be able to tolerate that. Chest skin, cannot. It’s more sensitive.
The most appropriate dyes to use would be ones designed for use on your beard or other areas of your body. These are generally suitable for use over sensitive skin.
Let me give you an example:
Betty Beauty. It’s designed for use on women’s pubic hair. Having been made with such an ultra-sensitive area in mind, it can be used on the chest pretty confidently. It lasts around 4 to 5 weeks. Click here to check out the range of available colors.
Can You Really Dye Your Chest Hair?
Yes, you can. This question is often asked, and hopefully, I’ve answered it quite comprehensively already.
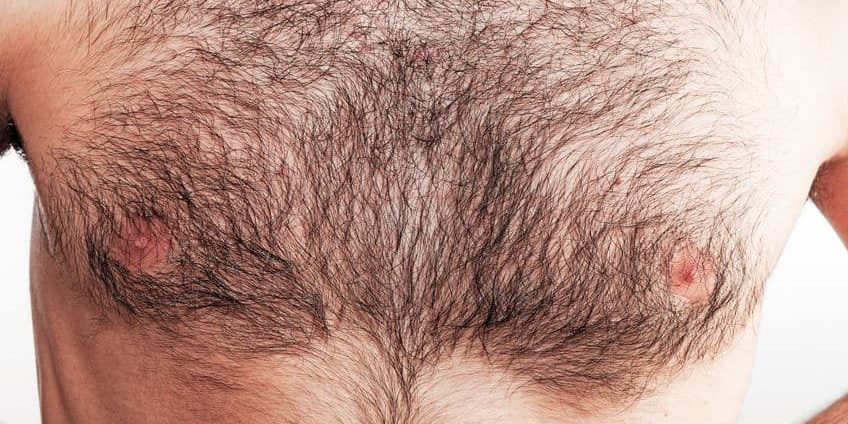
Chest hair is just hair. It might be thicker, and coarser than scalp hair. But it’s still pretty easy to dye.
Many men choose to do it because they want to reclaim some youth without having to trim their chest hair.
When a man notices it starting to gray, it can make him feel pretty old. Sometimes, even more so than their head hair.
Is It Safe To Dye Your Chest Hair?
If you use a mainstream, widely accepted product, there’s no reason why not. Of course, always do a patch test first, no matter what product you use.
But overall, if you use the right product in the right way, it’s no different to applying dye elsewhere.
Using a product with all-natural ingredients does protect you against some of the potentially irritating effects of chemicals such as PPD.
But whether it’s all-natural or not, read the reviews. Be sure to stick to what’s popular and well-established.
Conclusion
Hopefully, you’ve learned a lot more than just tips on dyeing chest hair without staining the skin. You’ve learned what to use, and how to use it.
Chest hair is a hot topic in men’s grooming at the moment. In recent years, there does seem to have been a resurgence. Natural, masculine, and laid-back.
If ever there was a product that could make it look more alluring and younger, it’s dye. Thanks for sticking around until the end.
🏆 Recommended Grooming Tools
- Philips Norelco Multigroom 9000 — Best overall trimmer for beard & hair
- Philips OneBlade 360 — Best budget trimmer & shaver
Written & Fact-Checked By
The Ready Sleek Team
Grooming obsessives since 2019. Evidence-based advice you can trust.
Related: Body Grooming Guides
Related Articles
- How to Get Rid of Dark Circles Under Eyes: Men’s Complete Guide
- Vitamin C Serum for Men: Why This Antioxidant Is Non-Negotiable
- Hyaluronic Acid for Men: The Complete Guide to Maximum Hydration
- Men’s Laser Hair Removal: Cost, Pain, and What to Expect in 2025
- Creatine for Men: Benefits, Dosage, and Side Effects (Complete Guide)
Axel is the founder of ReadySleek and has spent over 5 years researching and testing men’s grooming products, skincare routines, and hair loss treatments. His work combines hands-on product testing with insights from dermatologists and trichologists to deliver evidence-based grooming advice.
He specializes in men’s skincare (including ingredient analysis of retinol, niacinamide, and SPF), hair loss science (minoxidil, finasteride, hair transplants), men’s fragrance (with 80+ colognes personally tested), and body grooming techniques.
When he’s not reviewing the latest grooming products, Axel focuses on making complex grooming topics accessible and actionable for everyday guys.