There are often times when you find yourself without easy access to your trusted grooming tools. In these tricky scenarios, it’s important to know how to get by. You’re about to learn exactly how to comb your hair without a comb in the most effective way possible.
Let’s get to it.
How To Comb Your Hair Without A Comb In 6 Steps
The quickest and simplest way to do it would be to use your fingers. The beauty of this is that knowing how to use your fingers to style your hair means that you’ll never be without a grooming tool at any given point.
This, as well as the texture that your fingers are able to produce, does give finger-combing some significant benefits over using a comb.
Although all you’ll really need are your hands, this tutorial will mention a few other tools that would come in handy but aren’t essential.
These include – a pre-styler, blow-dryer, and hairspray. Nice to have, but not crucial.
1. Wash And Towel-Dry
Combing your hair is going to be a lot easier when you’re working with clean hair as opposed to greasy and oily hair.
This is even more true when you don’t have a comb and you want your hair to be as responsive as possible when using your fingers.
Washing your hair before you style will make things a lot easier for you.
Even if you were to just rinse it through with lukewarm water, the result will still usually be easier to comb than greasy, weighed-down hair.
Using shampoo once or twice a week should give you a more thorough cleanse, although will most likely dry things out too much if used excessively.
A quarter-sized amount should be enough for medium-length hair.
If you wanted a softer and silkier finish (not everyone does), conditioning the hair afterward will provide enough moisture to make this happen.
After you’ve washed your hair, towel-dry it until it’s damp.
2. Pre-Style
This step isn’t essential. There’s a reasonable chance you don’t have access to a pre-styler.
You may have access to a blow-dryer but not a pre-styler (most likely scenario).
If you don’t have a pre-styler, move on to step 3 and consider getting access to them going forward.
A pre-styler is a product that primes the hair before the final styling process.
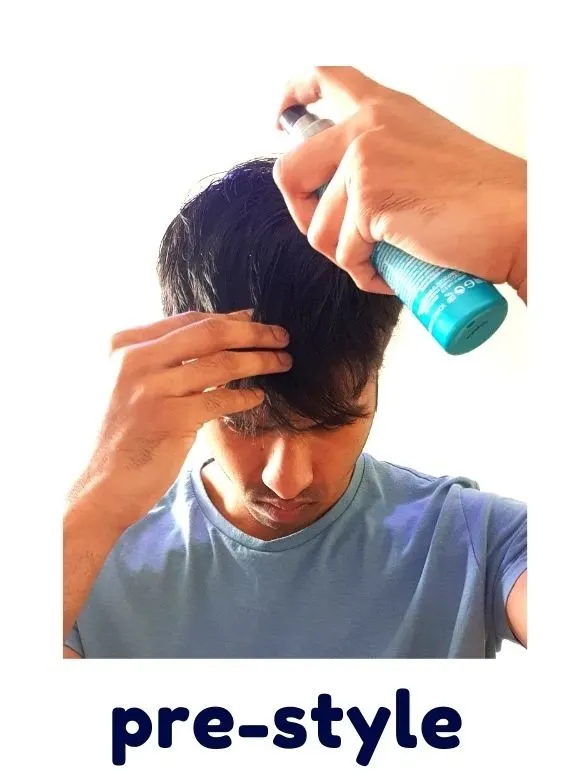
They can do different things – some of them prioritize increasing volume, while others reduce frizz and smooth the hair out.
They can also come in different forms – from sprays to serums and lotions.
The type of pre-styler you use depends on what your objective is.
I have pretty thin hair that has a tendency to fall flat, so I use pre-stylers that attempt to boost volume.
Here’s a blowout spray by John Frieda (Amazon Link) that I use to give the hair fullness. It’s applied before blow-drying.
The reason it’s great to use when you’re combing your hair without a comb is that it makes the hair more responsive. In other words, more likely to do what you want it to do.
A simple and popular alternative pre-styler is simply a few spritzes of sea salt spray. It works well because it adds a bit of grit to the hair – great for producing those textured, windswept finishes.
Once you’ve applied the pre-styler, it’s usually a good idea to blow dry. It’s a good opportunity to use the pressure and heat from the blow dryer to add some volume.
It’s also a good way of activating the pre-styler and enhancing its intended effect.
Although this is usually the case, it’s always crucial to read the instructions of your specific blow dryer to see if blow drying is recommended or not.
3. Blow Dry While Finger Combing
If you don’t have a blow dryer, consider getting one. It would make building volume and texture a lot easier.
If you’re looking for a more defined style such as a slick back or a comb over, a blow dryer is less important.
If you don’t have a blow dryer or you simply don’t think it would be worth using for the style you’re going for, move onto step 4.
Let’s assume that you do have a blow dryer and you want to use it.
Hold the blow dryer around 8 inches from your hair and set it to a medium speed and heat setting. Start blow-drying.
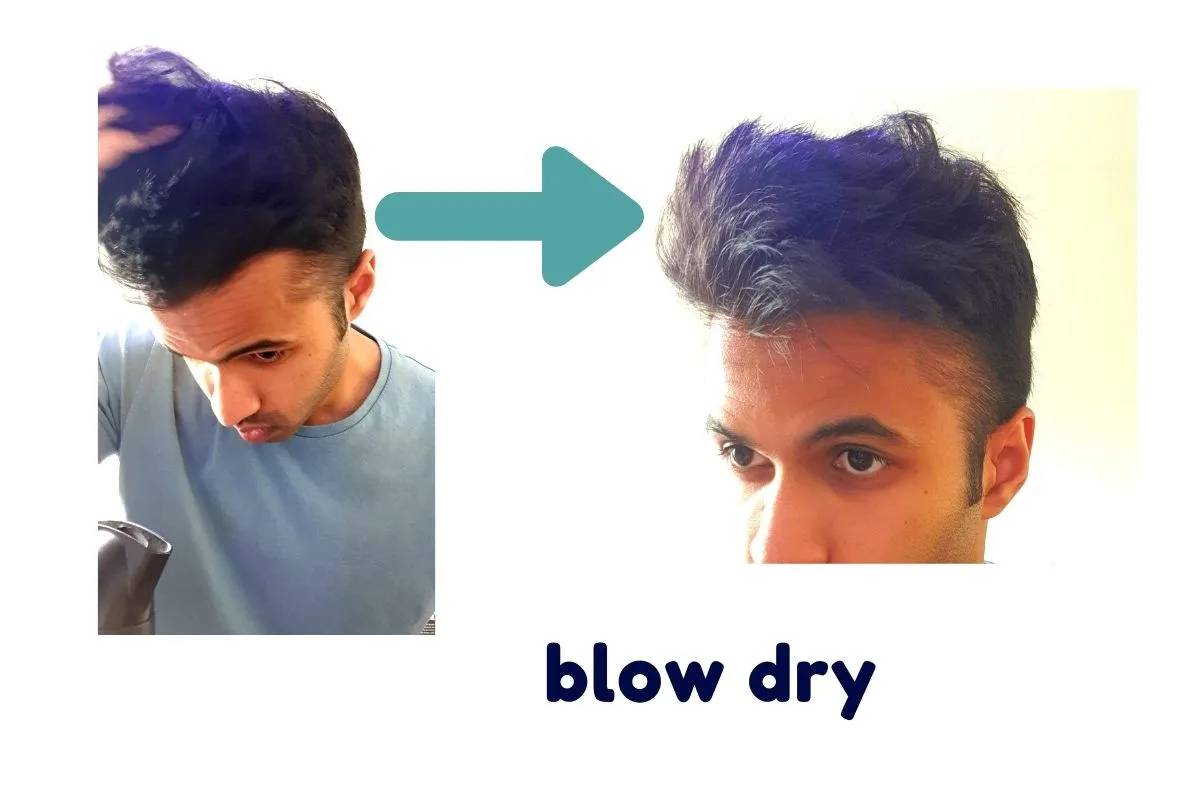
Target the roots to really get some volume.
Blow-drying provides you with a good opportunity to start combing your hair with your fingers.
In this initial stage, I like to rake widely-spaced fingers through the hair in all directions and not just the direction I’d like the hair to initially lay in.
Front, back, left, and right.
This just helps me get more volume, quicker and easier.
It produces a nice layered and textured finish once the blow-drying is finished while building volume at the same time.
You’ll want to finish with the hair generally laying in the direction you want it to end up – for me, this is usually to the right.
A good way of ensuring you do this is by using the pressure from the blow-dryer to define the side parting as well.
For me, this is on the left.
Use the blow dryer to really define the outline of the side parting, whichever side this may be for you.
If you’re simply slicking it all back, you’ll want to finish off by blow-drying backward to give that hair every chance of staying backward once you’ve styled it.
You may find that you simply aren’t achieving as much layering or texture as you’d like by raking widely-spaced fingers through.
In this case, try tousling and cupping the hair with your fingers – potentially even in a gentle fist at times. This should really add some strand separation and texture – a messy let controlled finish.
4. Finger Comb Some Styling Product Through
The styling product you choose really does depend on the shine and level of hold you want.
Although there’s a lot more to it, here’s a rough breakdown to help you decide:
- Low Shine And Low/Medium Hold: Creams, Pastes
- Low Shine And Medium/High Hold: Clays
- High Shine And Low/Medium Hold: Waxes, Oil-Based Pomades
- High Shine And Medium/High Hold: Gels, Water-Based Pomades
Click the links to find out more about each type of product.
Gels and water-based pomades will generally give you a stiff hold, while the other products listed above will usually give you a softer and more pliable hold.
Once you’ve got your styling product, you’ll want to really start combing that hair the way you want it to lay.
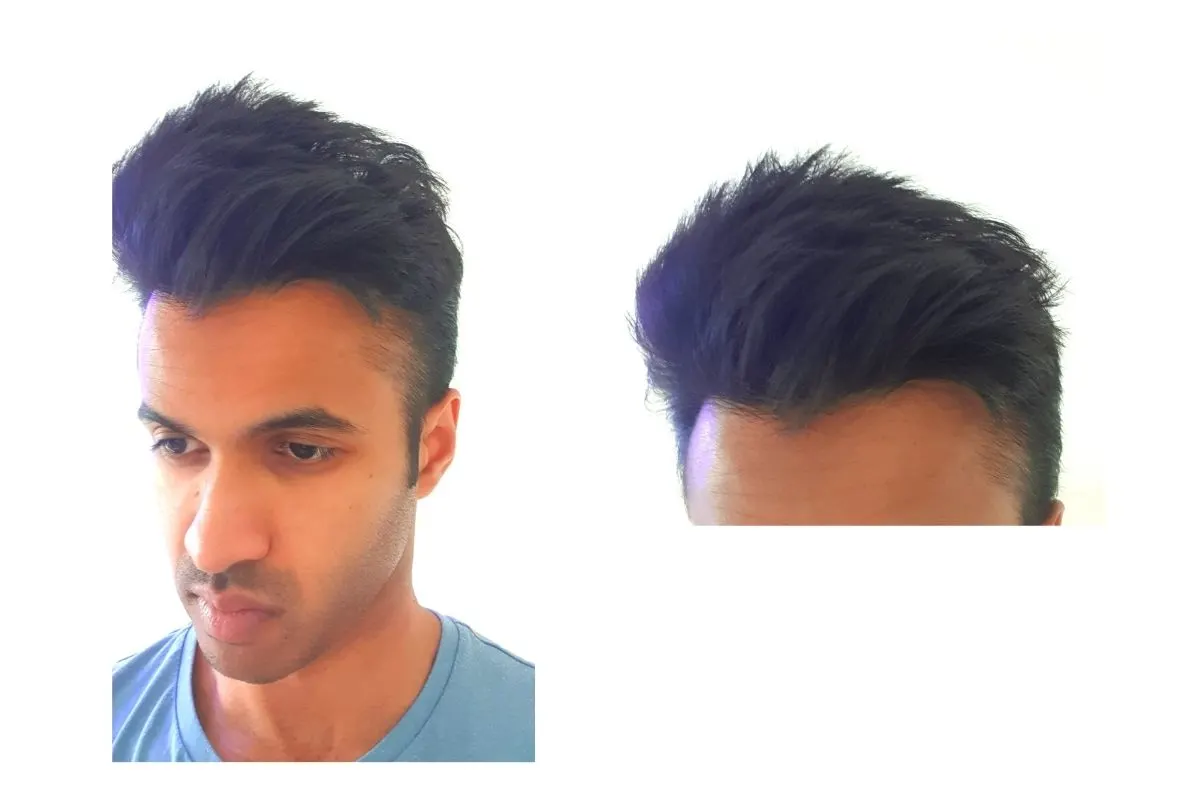
Let’s assume you want to sweep it to the side. I usually sweep it to the right side and aim for a messy and textured finish – that’s what you’ll see in the photos.
In general, using widely-spaced fingers to comb will always be easier than keeping your fingers tightly pressed together.
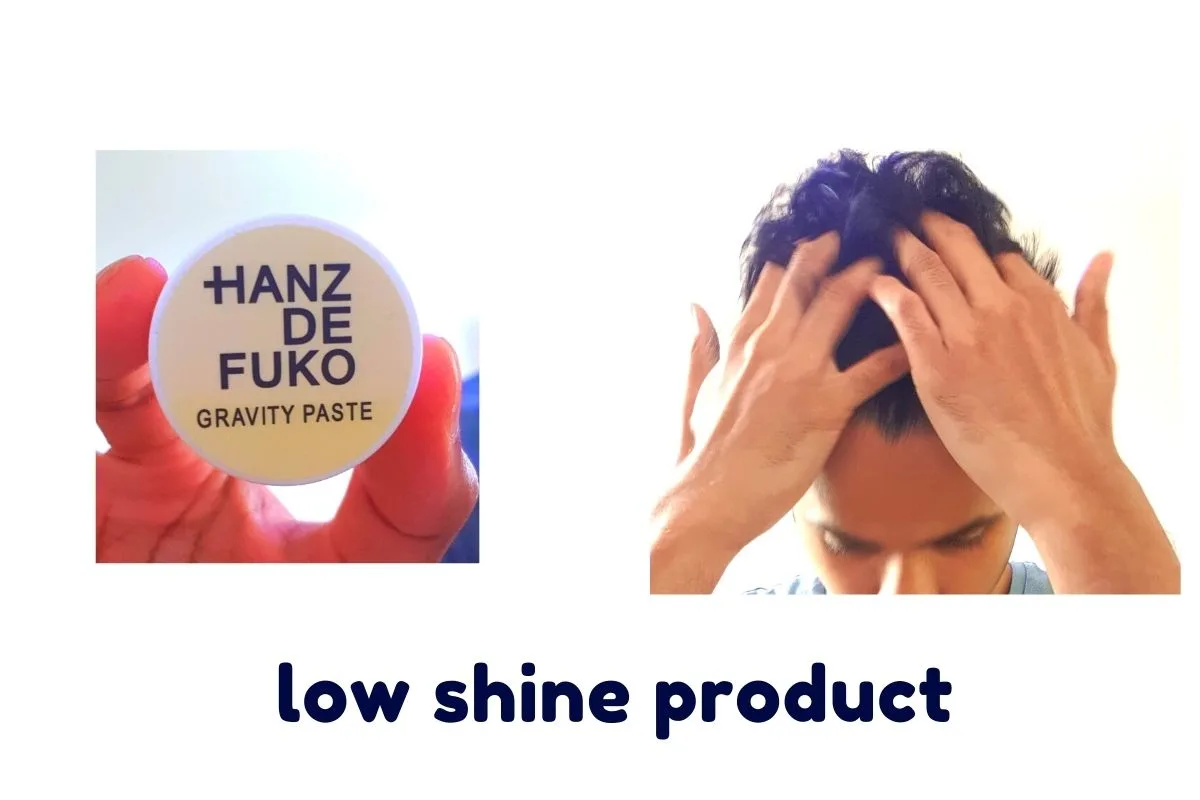
The finish will be more textured if you were to use widely-spaced fingers as well.
Apply a quarter-sized amount of the styling product to your palm and emulsify it (i.e break it down) by rubbing it in between your palms. Make sure you break down any bits and clumps.
Use your fingertips to rake through the hair and comb it in your desired direction. You can use both of your hands to do this if you’d like to.
In fact, if you’d prefer a flatter and more defined end result, try raking the product through with one hand and follow it with the flat palm of the other hand.
This really helps if you’re looking for a tidy finish as opposed to a layered and textured finish.
Either way, you’ll notice that you’ll still get more separation in between the strands than what you’d be able to achieve with a comb.
Remember, if you want a messier finish, feel free to use your fingers to tousle, tug, and cup the hair as you wish to.
When you’re using your fingers, the range of different textures you’re able to achieve is really endless. You’ve got many more options compared with using a comb.
It’s just important to ensure that the finish is still neat enough to look intentional and generally goes in one direction.
Defining the side part is a good way of making things look tidy. Use your fingers to really define the outline of the parting, flattening the hairs to either side of it.
5. Flatten The Sides
Hair sticking out at the sides can really make an otherwise controlled and tidy finish look subpar.
The same goes for the back.
You’ll want to finish off by flattening any stray hairs sticking out at the sides, crown, and back.
The hands are great for this purpose.
I like to use the palms of my hands to do this as it’s a nice flat surface. Others do prefer to use their fingertips – each to their own.
Either way, you can use a bit more styling product to do this if you don’t feel as though you’ve got enough residue left.
6. Hairspray To Lock It In
This isn’t essential either.
If you think you’ve got enough hold from your styling product to really keep things in place for the duration of the day, skip this step.
If, however, you feel as though you could do with some extra support, a few spritzes of hairspray may be worth considering.
Nothing excessive.
If you’d like to learn about how to apply hairspray in a little more detail, check out this article I wrote on the topic.
Remember, most hairsprays will produce a stiff hold, much like a hair gel or water-based pomade would.
Most people struggling with their hairstyle collapsing after a couple of hours would probably welcome this “set it and forget it” benefit of hairspray.
Others may simply not like the stiff hold that it produces and should avoid hairspray if this is the case.
Either way, at this point, you can officially say that you’ve combed your hair with your fingers, without needing a comb at any point.
Benefits Of Combing Your Hair Without A Comb
While not having a comb may leave you feeling inadequately tooled, the benefits of using your fingers shouldn’t be underestimated.
1. It Allows You To Style Whenever And Wherever
Let’s face it. Even if you were to use your comb daily, there will most likely come a time where you simply don’t have access to it.
Perhaps you’re at work and you notice the hair you styled earlier that morning has quickly come undone during the windy journey to the office.
Perhaps you’re on holiday and simply forgot your trusted comb at home.
Knowing how to use your fingers to comb your hair effectively is an incredibly useful skill to gain.
You’ll be able to do it wherever and whenever, no matter what grooming tools you may or may not have access to.
This flexibility is invaluable.
2. It Produces A Wider Range Of Textures
Combs are great, but they’re fairly limited in the type of finish they’re able to achieve.
What are they good for?
Combs work well for neat, tidy, precise, and defined styles. They aren’t great for producing volume, texture, or layering.
While fingers won’t be able to achieve quite as tight of a finish as a comb would, you can still produce a tidy and defined finish if you want to.
Simply rake through the hair with one hand and follow it with the flat palm of the other hand to flatten it out.
But using your fingers allows you to achieve textures you’d never really be able to get by using a comb alone. These are generally more layered, messy, and textured finishes.
Because of this, using your hands to comb your hair instead of a comb does give you a lot more versatility and options when it comes to the end result.
Conclusion
There you have it.
While some may never leave the house without one, a comb isn’t the be-all and end-all.
Knowing how to use your hands to comb your hair ensures that you always have options for styling no matter where you may be.
Enjoy.
Ready Sleek founder. Obsessed with casual style and the minimalist approach to building a highly functional wardrobe. Also a fan of classic, vintage hairstyles.

