![Number 3 Haircut: Length, Styles, Fade, How-To [Pics]](https://www.readysleek.com/wp-content/uploads/2021/09/number-3-haircut-720x405.jpeg)
Trimming this short can be a great experience, but you need to know what you’re getting into before you start clipping. This is everything you need to know about the number 3 haircut.
Let’s get to it.
Quick answer: A number 3 haircut is 10mm (3/8 inch) – the classic buzz length: short enough to be zero-effort, long enough to cover most scalps fully. It pairs with every taper and fade, and the all-over version is the number 3 buzz cut.
| Guard | Length | The look |
|---|---|---|
| #2 | 6mm | Shorter, slight scalp show |
| #3 | 10mm | Classic buzz, full coverage |
| #4 | 13mm | Brushable, more texture |
What Does The Number 3 Haircut Look Like?
The number 3 haircut looks like this:


As you can see, it’s short, sleek, and effortlessly neat.
In terms of styling, there’s very little you can do with it. It’s a “set it and forget it” haircut length.
You won’t have to worry about strays and flyaways as the hair is too short for this to ever be a problem.
At the same time, you won’t have to worry about falling quiffs or flailing combovers because once again – the hair is simply too short for styling.
The picture above is of a number 3 haircut all over, where the top, sides, and back are all trimmed down to a tidy and even #3 length.
Although this can look great, many do choose to trim a number 3 haircut on top and then taper the sides and back down a grade shorter (or even more).
This actually allows the hair to grow in a more natural-looking manner. It’s often more aesthetically pleasing when the #3 length on top is combined with a slightly shorter length at the sides.
It can produce a subtle narrowing effect on the face, defining the jawline.
It’s up to you whether you want to go for a simple #3 all over or have some contrast between the top and the sides.
Either way, the #3 haircut is a great option for men looking for simplicity coupled with style.
What Length Is The Number 3 Haircut?
The number 3 haircut is 10mm long (3/8 of an inch) and is trimmed using the #3 clipper guard.
It’s short, but not as short as you can get.
Trimming a #3 all over would fall firmly within the short buzz cut territory. These do have their benefits.
Ease of maintenance would be the most obvious one. No styling is required or would even be possible.
In addition, washing and drying this length takes no time at all.
But another benefit would be how easy the number 3 haircut is to DIY. We’ll talk about this more a little bit later.
Just know – most clippers (even budget ones) do come with a #3 clipper guard considering how popular the length is both for the top and the sides.
If you’ve got a decent pair of clippers, going down to this length really is pretty simple to do at home.
The Number 3 Haircut With A Fade
The number 3 haircut with a fade consists of the number 3 length (10mm) on top, with the sides gradually getting longer as you go from the bottom to the top. The faded effect is produced by the different lengths as they blend seamlessly into one another.


Fading the sides and back is a great option when you’ve got a #3 length on top.
It’s popular because it makes a simple #3 haircut just that little bit more unique and attention-grabbing.
Don’t get me wrong – incorporating a fade makes the style a lot tougher to DIY. You’ll need to attend a barber to get it done unless you’ve got some serious skills with a clipper.
But even if you do get it done by a barber, you’ll need to know what to say to them if you want it done the way you want it.
Tell the barber that you want a #3 length on top – that’s the easy part.
Now, you’ll need to tell them how high you want the fade and how short you want the fade.
Let’s talk about fade height first.
This refers to where you want the shortest length to gradually start blending into longer lengths. It can be low, mid, or high.
The number 3 haircut with a low fade has the shortest length transitioning into longer lengths around half an inch above the ear.
The number 3 haircut with a mid fade has the shortest length transitioning into longer lengths around halfway up the sides.
The number 3 haircut with a high fade has the shortest length transitioning into longer lengths around the level of the temples.
It’s important to remember that the higher the fade, the larger the area of the sides and back trimmed down to the shortest length, and the more eye-catching the fade will be.
You’ll also need to let the barber know how short you want the shortest length of the fade to actually be.
A skin fade has the shortest length shaved down to the skin. A 1 fade has the shortest length at a #1 length (3mm) and a 2 fade has the shortest length at a #2 length (6mm).
The shorter the fade, the more attention-grabbing it’ll be.
Faded sides can go great with a #3 length on top, but it’s important to know how to instruct your barber in the clearest possible way to ensure you get what you want.
How To Do A Number 3 Haircut
Here’s a step-by-step tutorial on how to do a number 3 haircut by yourself and at home.
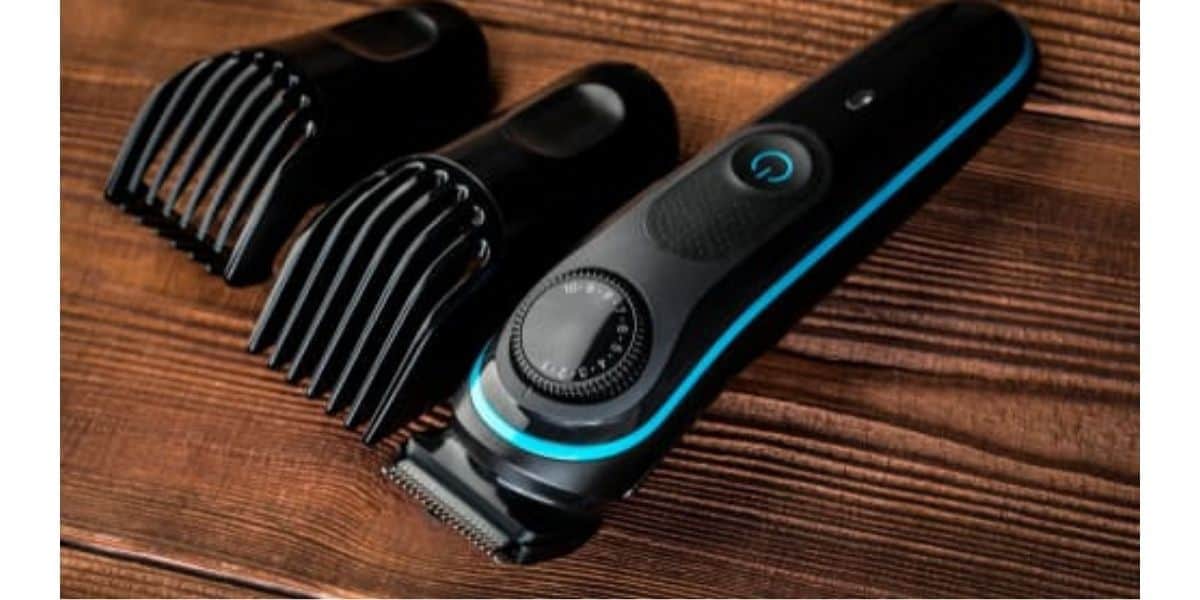
It’s pretty simple. All you’ll need is a pair of clippers with a #3 clipper guard and a bathroom mirror.
A handheld mirror will always come in useful when doing the back of the head. If you don’t have one of these, try and get hold of one.
This tutorial will teach you how to do a number 3 haircut all over for the sake of simplicity. Just remember, that many people do choose to go a grade (or more) shorter on the sides and back for that nice tapered appearance.
1. Prep
Prep the clippers.
Charge, oil, and clean.
Charging is really only important if your clippers are cordless. Just know that uncharged clippers are more likely to tug and lead to an uneven trim.
Oiling your clipper blades from time to time is a must. If your clippers didn’t come with a little bottle, grab yourself some clipper oil online as it’s pretty cheap.
Finally, clean the blades before every trim. Your clippers should have come with a little brush to allow you to do it.
But a toothbrush should do the trick if you don’t have one.
Properly cleaned and oiled clippers are less likely to tug and pull and are more likely to give you a comfortable and tidy #3 haircut all over.
2. Wash
This part is simple. You’ll want clean and dry hair before you clip it all down.
It’s much easier to work with clean/dry hair than greasy, oily, unclean hair.
Once you’re washed, towel dry or blow-dry until it’s completely dry.
3. Trim The Top And Sides To A #3 Length
The top and sides are easy places to start.
Clip on that #3 clipper guard and start trimming the top.
Trim against the grain (i.e against the direction of growth) for the quickest, most efficient, and even cut.
On the top, against the grain will generally be backward.
Go slow, take your time, and vary the angle of the clipper a little to make sure you don’t miss any patches.
Start trimming the sides.
Against the grain on the sides will generally be upward. Don’t forget behind the ears – this area is easily missed.
4. Trim The Back To A #3 Length
The back is tougher because it’s more difficult to see.
Use a handheld mirror to help. Hold it in your non-clipper-holding hand and turn around so your back is facing the bathroom mirror.
The back of your head should now be visible in the handheld mirror as it reflects off the bathroom mirror.
Go slow over the back of the head because there are plenty of natural grooves you’ll need to glide the clipper over.
The crown area tends to spiral (i.e the cowlick). Feel the different directions of growth in this area and switch up the angles of the clipper to get an even cut here – or as even as possible, at least.
5. Neckline Time
The neckline is where the neck meets the neck hair. It’s the lowest border of the hair at the back.
When you’re trimming down to a #3 length, you can leave the neckline as it is without squaring or rounding it off – it’ll probably look fine.
The hair is so short that keeping the neckline natural is no big deal.
However, if you wanted to sharpen the neckline, just know that it can be tough to DIY.
Neckline shaving templates do exist and are worth using if you’re intent on doing it.
Here’s an example you can check out on
Set it at the correct height and make sure it’s straight before you start trimming underneath it. If you don’t, the results could be bad and waste all of your earlier efforts.
6. Final Assessment
Take a look in the mirror at the finished results from all angles and in good lighting. Use the handheld mirror to get a glimpse of the trickier angles.
If you can’t see any missed areas, have a feel too. Areas that feel a little rougher or more raised could do with another pass over with the clippers.
Once you’re happy with the results, you’re done.
The Number 3 Haircut On The Sides
The number 3 haircut on the sides is where the top is left long while the sides and back are trimmed down to a number 3 length (10mm). The top can be cut and styled in many different ways.
The #3 length is actually a pretty popular choice for the sides and back.
It’s not quite as short as a #1 or #2 length and can add just a little bit of fullness to the sides.
The length is great for people that want more of a natural look at the sides as opposed to anything that looks too tapered.
You could either have all of the sides and back trimmed down to a #3 length or gradually fade the length of the sides and back up into a #3 length.
Frequently Asked Questions
Here are some frequently asked questions on the number 3 haircut to really round off this topic.
Is A Number 3 Haircut 3mm?
The number 3 haircut is not 3mm. It is actually 10mm. Confusing the clipper guard for the number of millimeters it trims down to is a common mistake and one to avoid.
Knowing how short each clipper guard trims down to is crucial.
This can vary between brands, but for most of them – the number 3 clipper guard will trim down to 10mm.
I’ve written more about clipper guards and how short they trim down to in this article if you want to learn more.
Number 2 Vs Number 3 Haircut: What’s The Difference?
The number 2 haircut consists of hair that is 6mm long (1/4 of an inch) and clipped using a #2 guard. In contrast, the number 3 haircut consists of hair that is 10mm long (3/8 of an inch) and clipped using a #3 guard.


Image From 123RF
While the difference is subtle, it’s pretty significant.
The #2 haircut would be noticeably shorter to you and those around you, but the benefits are pretty similar.
Easy to maintain and easy to DIY.
If you aren’t sure of which length to go for, it’s strongly recommended that you try out the number 3 length first.
If you then feel you could go even shorter, you could either trim a #2 haircut or simply trim a #3 haircut with the lever closed for a halfway measure.
Note that a lot of budget clippers don’t come with a lever. If yours does, use it to see how you like a stepping stone in between the number 2 and number 3 length before you go all the way down to the #2 length.
What About The Number 3 Haircut With A Beard?
The number 3 haircut works very well with a beard. This is because facial hair can add length and fullness to the bottom half of the face, adding balance to the overall roundness of the top of the head with the hair being this short.
It’s a pretty common issue men that trim their hair this short have.
It exaggerates the shape of the face because you can’t add any height up top using your hair.
A number 3 haircut would be too short to style any sort of quiff, for instance.
Because of this, you may find that a #3 haircut makes the face look rounder or shorter than you may have anticipated before you reached for that clipper.
There’s really nothing you can do about this from the top end.
But from the bottom end of the face, you can use facial hair to add length in the same way. The longer the beard, the more obvious this effect will be.
If you find that your #3 haircut makes your face a little rounder than you would have liked, try a beard.
Is The Number 3 Haircut Short?
The number 3 haircut is a short style (10mm long with most clipper brands). As it’s so short, it’s very easy to maintain but won’t give you enough length to style in any way. Many do see this shortness and simplicity as a benefit.
It’s hard to see this haircut as anything other than short.
Because of this, it’s important to know what to expect before you clip down to it (or ask your barber to).
If you aren’t sure whether this is the length for you, try out a couple of longer haircuts first. The number 4 haircut and the number 5 haircuts are pretty reasonable stepping stones.
If you feel you could go even shorter once you’ve assessed how you like these longer lengths, the #3 would be a natural progression.
Is The Number 3 Haircut Good For Balding Men?
The number 3 haircut is a great option for balding men. Thinning hair and receding hairlines often look less obvious when the hair is trimmed this short, simply because there is less of a contrast between the thinner areas and the thicker areas.
Trimming a very short hairstyle when you’re already balding can be a very liberating experience and is a great way of embracing baldness as opposed to hiding it.
It can be a little nerve-wracking, but the results are often great.
The #3 length may not be as short as a #1, #2, or #0, but it’s still short enough for the benefits to be obvious.
When you’ve got thinning hair, you’ve got thin patches, thick patches, and everything in between.
It’s this difference that makes thin or bare patches look more obvious. It’s because they sit right next to longer and thicker areas.
A simple remedy is often to trim everything you’ve got down to a very short and even length.
There’s less discrepancy between thin areas and thick areas. As a result, it all just looks tidier, and thinning hair often looks less noticeable.
Don’t get me wrong, it won’t hide balding. It’ll just make the common features of balding less eye-catching and noticeable.
Conclusion
Hopefully, you’ve now got a pretty solid understanding of the number 3 haircut.
What it looks like and what it could do for you.
If you’re still into it, try it out. It definitely has its benefits.
Enjoy.
Frequently Asked Questions
What length is a number 3 haircut in mm?
10mm, or 3/8 inch. It is the most-requested buzz length because it fully covers the scalp on most hair types while staying maintenance-free.
Does a number 3 suit a receding hairline?
Usually yes – the uniform length reduces the contrast that draws attention to recession. Our guides on buzz cuts for thinning hair cover the decision in detail.
Number 3 on top and 2 on the sides – does that work?
It is one of the classic combinations: enough contrast to look cut, subtle enough to need no styling. Ask for exactly that wording at the barbershop.
Axel is the founder of ReadySleek and has spent over 5 years researching and testing men’s grooming products, skincare routines, and hair loss treatments. His work combines hands-on product testing with insights from dermatologists and trichologists to deliver evidence-based grooming advice.
He specializes in men’s skincare (including ingredient analysis of retinol, niacinamide, and SPF), hair loss science (minoxidil, finasteride, hair transplants), men’s fragrance (with 80+ colognes personally tested), and body grooming techniques.
When he’s not reviewing the latest grooming products, Axel focuses on making complex grooming topics accessible and actionable for everyday guys.