The impulse to shave one’s head can be strong. So strong and so spontaneous that you may wonder where it came from. But the right tools may not be at your disposal all of the time.
This could pose a problem. So, can you shave your head without clippers?
It’s possible to shave your head without clippers, but you’ll need a similar device to get your hair to a length where shaving is a possibility. A beard trimmer is the most logical equivalent you may have to hand.
The reason clippers are great before a head shave is that they can quickly and efficiently buzz the hair down to an appropriate shaving length. Usually, this will be best achieved using the clipper with no guard attached.
But there’s no reason why this can’t be done with a beard trimmer if you don’t have a pair of clippers to hand. It won’t be as effective or efficient, but it can work.
If your hair is already very short you may not need a trimmer or a clipper at all. Going straight to a razor shave may well be possible.
I’m about to talk through these devices in more detail. Let’s get to it.
4 Ways To Shave Your Head Without Clippers
The device you use will depend mainly on the length of hair you’re starting off with.
1. Beard Trimmer
Let’s start with the most likely scenario – you’ve got hair that’s simply too long to shave with a razor. It’ll need to be trimmed down first.
Don’t get me wrong. A pair of clippers is much better for cutting your scalp hair than a beard trimmer would be. The reason for that is explained by the differences between the two devices.
Clippers have wider blades and are capable of cutting long hair fast.
Trimmers, on the other hand, have thinner blades and are therefore better at fine-detailing. They weren’t designed with thick or long hair in mind.
However, if you don’t have a pair of clippers but do happen to have a beard trimmer, it can be possible to buzz down *short* hair to a length where you could shave it.
Simply trim your hair down using the beard trimmer with no guard attached.
2. Manual Razor
You can shave your head with a manual razor once your hair has been trimmed short enough using a trimmer, or ideally a clipper.
In fact, your hair may already be short enough to shave. However, if it’s anything more than medium stubble length (3mm) you’ll want to trim it down first for the best effect.
With a razor, you’ll be able to achieve a smoother appearance than you would with a clipper or trimmer. The act of shaving refers to the cutting of the hair at the level of the skin.
With a clipper, even with no guard attached, you’ll still be left with stubble.
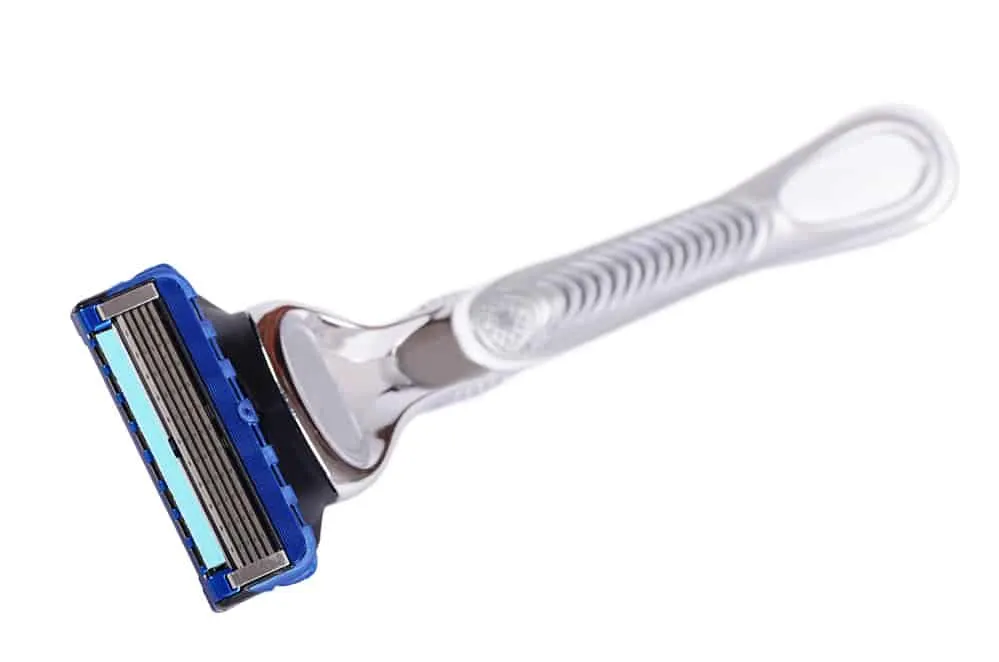
Manual razors can be broadly categorized into cartridge razors, safety razors, and straight razors. Each of them has its own advantages and disadvantages.
A cartridge razor has the benefit of being efficient and quick to use when compared to the other two main types. This is mainly what accounts for their huge popularity.

(From Deposit Photos)
A key reason for this is that almost all of them come with pivot heads, so you don’t have to worry about the angle at which you hold the razor when you shave your head.
This is unlike a safety razor where you’ll have to find the optimal shaving angle – this can be tricky for a beginner.
Another big efficiency advantage of cartridge razors for head shaving is the blades’ use of “lift and cut” technology. One blade lifts while the one immediately proceeding cuts it.
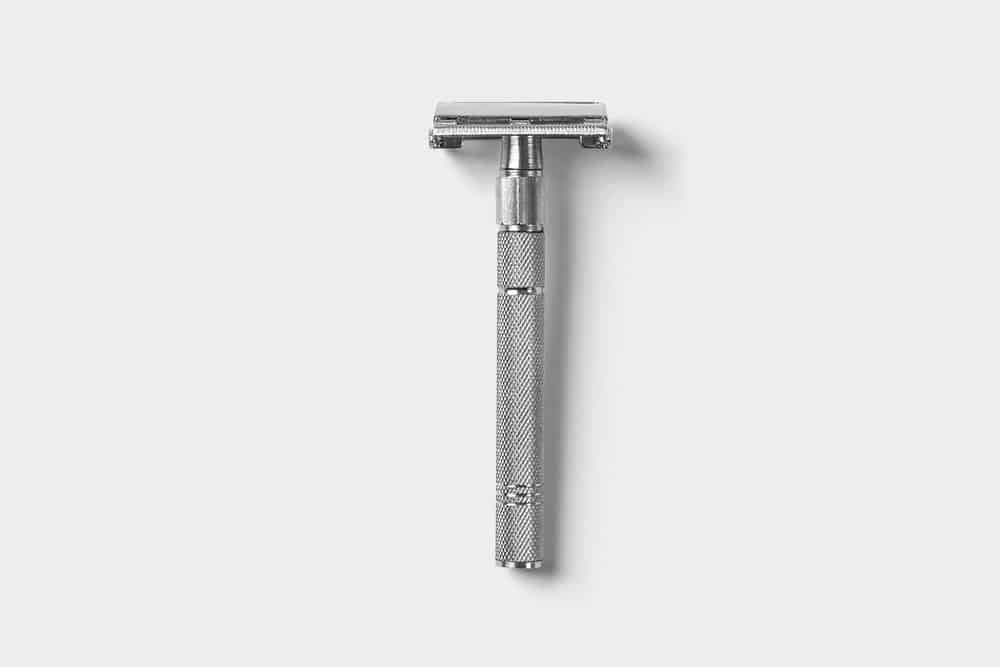
The advantages of dual-edge safety razors and straight razors over cartridge razors are quite similar.
Funnily enough, they both provide a closer shave than a cartridge razor, despite only consisting of a single blade passing through the hair.
Although they take a while to get used to, once you’ve got the technique down, they both generally cause less irritation than a cartridge razor.
The multiple blades of a cartridge razor tend to cause tugging and pulling. They also result in multiple blades passing over the same area of skin at once – this causes irritation.
Compare this with a safety or straight razor where a single blade passes over a single area of skin with a more effective shave. It sounds like a no-brainer, but again, the need for practice and some technical skill puts some people off.

(From Deposit Photos)
There are some specific differences between safety and straight razors, the main one being that straight razors are more technically challenging to get used to. For this reason, straight razors are much less commonly used for head shaving.
But the differences between the two are a topic for another article.
I’ll finish off by mentioning the importance of using shaving gel, cream, or soap when shaving the head using a manual razor.
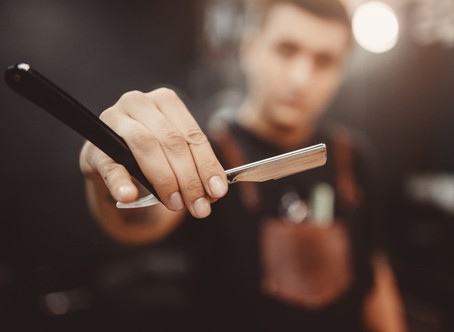
Image from Shutterstock
The main point is to remember never to shave unlubricated with a manual razor. This sounds obvious, but when shaving it can be tempting to shave over an area twice to clean up. Just be sure to lather up again.
3. Electric shaver
An electric shaver, much like manual razors, can be used to shave the head once it’s been trimmed down to stubble length.
Electric shavers can be broadly divided into foil and rotary shavers. Foil shavers provide a slightly closer shave and consist of a foil (as you’d expect) covering the blades.
A rotary shaver consists of oscillating blades that provide an even shave, albeit slightly less close.
Using an electric shaver over a manual razor for shaving the head does come with its own benefits.
For one, it’s more difficult to cause nicks and cuts when using an electric shaver. Because you’ll generally need to be less cautious, the shave is usually quicker overall. Having said that, you’ll still want to take your time and be careful.
Another benefit is that most electric shavers can be used both wet and dry, although you’ll definitely want to check the specifications of your specific device.
So, unlike manual razors, you probably won’t need to lather up with shaving gel, cream, or soap before you start shaving. This saves time and money.
But electric shavers do have a couple of disadvantages to bear in mind as well.
An important one to bear in mind is that you’ll probably get a closer shave with a manual razor. Although there is a significant amount of debate over the topic, that’s generally regarded as true.
Of course, that will partly depend on how good you are with a manual razor and what type of manual razor you’re using.
Another potential disadvantage of using an electric shaver is that they generally cause more irritation than a manual razor.
This may sound contradictory, as I literally just raved on about how you’re less likely to get nicks and cuts.
But having motor-powered blades going backward and forward or rotating against the skin can cause irritation if not used appropriately. This makes it a poor choice for men with sensitive skin.
Electric shavers are also expensive. They’re generally more expensive than clippers and trimmers, and definitely more expensive than manual razors (except for the very high-end ones).
So, you’ll need to pay the upfront cost and also have to devote time to maintenance, cleaning, and upkeep of the device.
Can You Shave Your Head With Scissors?
Simply put, no. Scissors should never be considered a substitute for clippers. You won’t be able to trim the hair down to a short, even length with scissors.
Instead, you’ll be left with unequal patches of hair everywhere which will be very difficult to shave with a razor afterward.
It’ll also be incredibly time-consuming and you’ll be at high risk of causing yourself an injury.
The only scenario where this would even be a plausible option would be if an experienced barber was using the scissor over comb technique to get it down short enough for you.
Even then, there’s no way they’d be able to properly buzz it down and it would be a mystery as to why they weren’t using a clipper.
Conclusion
To sum this all up, if you don’t have a clipper, a trimmer would be a reasonable alternative for trimming your hair down short enough to shave it.
If you don’t have a trimmer either, you’re pretty stuck unless your hair is short enough to shave with a manual razor already.
Shaving your head without clippers may not be easy, but it’s possible.
Hopefully, you found that helpful. In the end, it was a bit of a whirlwind tour of the most popular trimming and shaving devices out there at the moment.
It’s important to understand the key differences between the devices – what they do and when they should be used.
Ready Sleek founder. Obsessed with casual style and the minimalist approach to building a highly functional wardrobe. Also a fan of classic, vintage hairstyles.